

DIY Jeep Cherokee xj drawer system
Have you wanted to upgrade the storage in your vehicle but didn't know quite where to start?
In the write up, i’ll be sharing with you how I created an affordable drawer system in my 1998 Jeep Cherokee.
This all started when I was trying to outfit my Jeep with just basic needs. I wanted to be able to carry tools, first aid, overnight gear etc, while retaining space to sleep as well as access to all my gear in an orderly fashion. I am a journeyman boilermaker working for the Washington State Ferries, so I do a fair amount of travel and overnight jobs. I quickly found out that packing all my gear (which includes tools, food, warm weather clothing and sleeping essentials) basically took up all the space I had. Thus, sleeping in the back of my rig meant that I was snuggling with all said equipment I had with me.
A light bulb went off and I started planning my DIY drawer system.
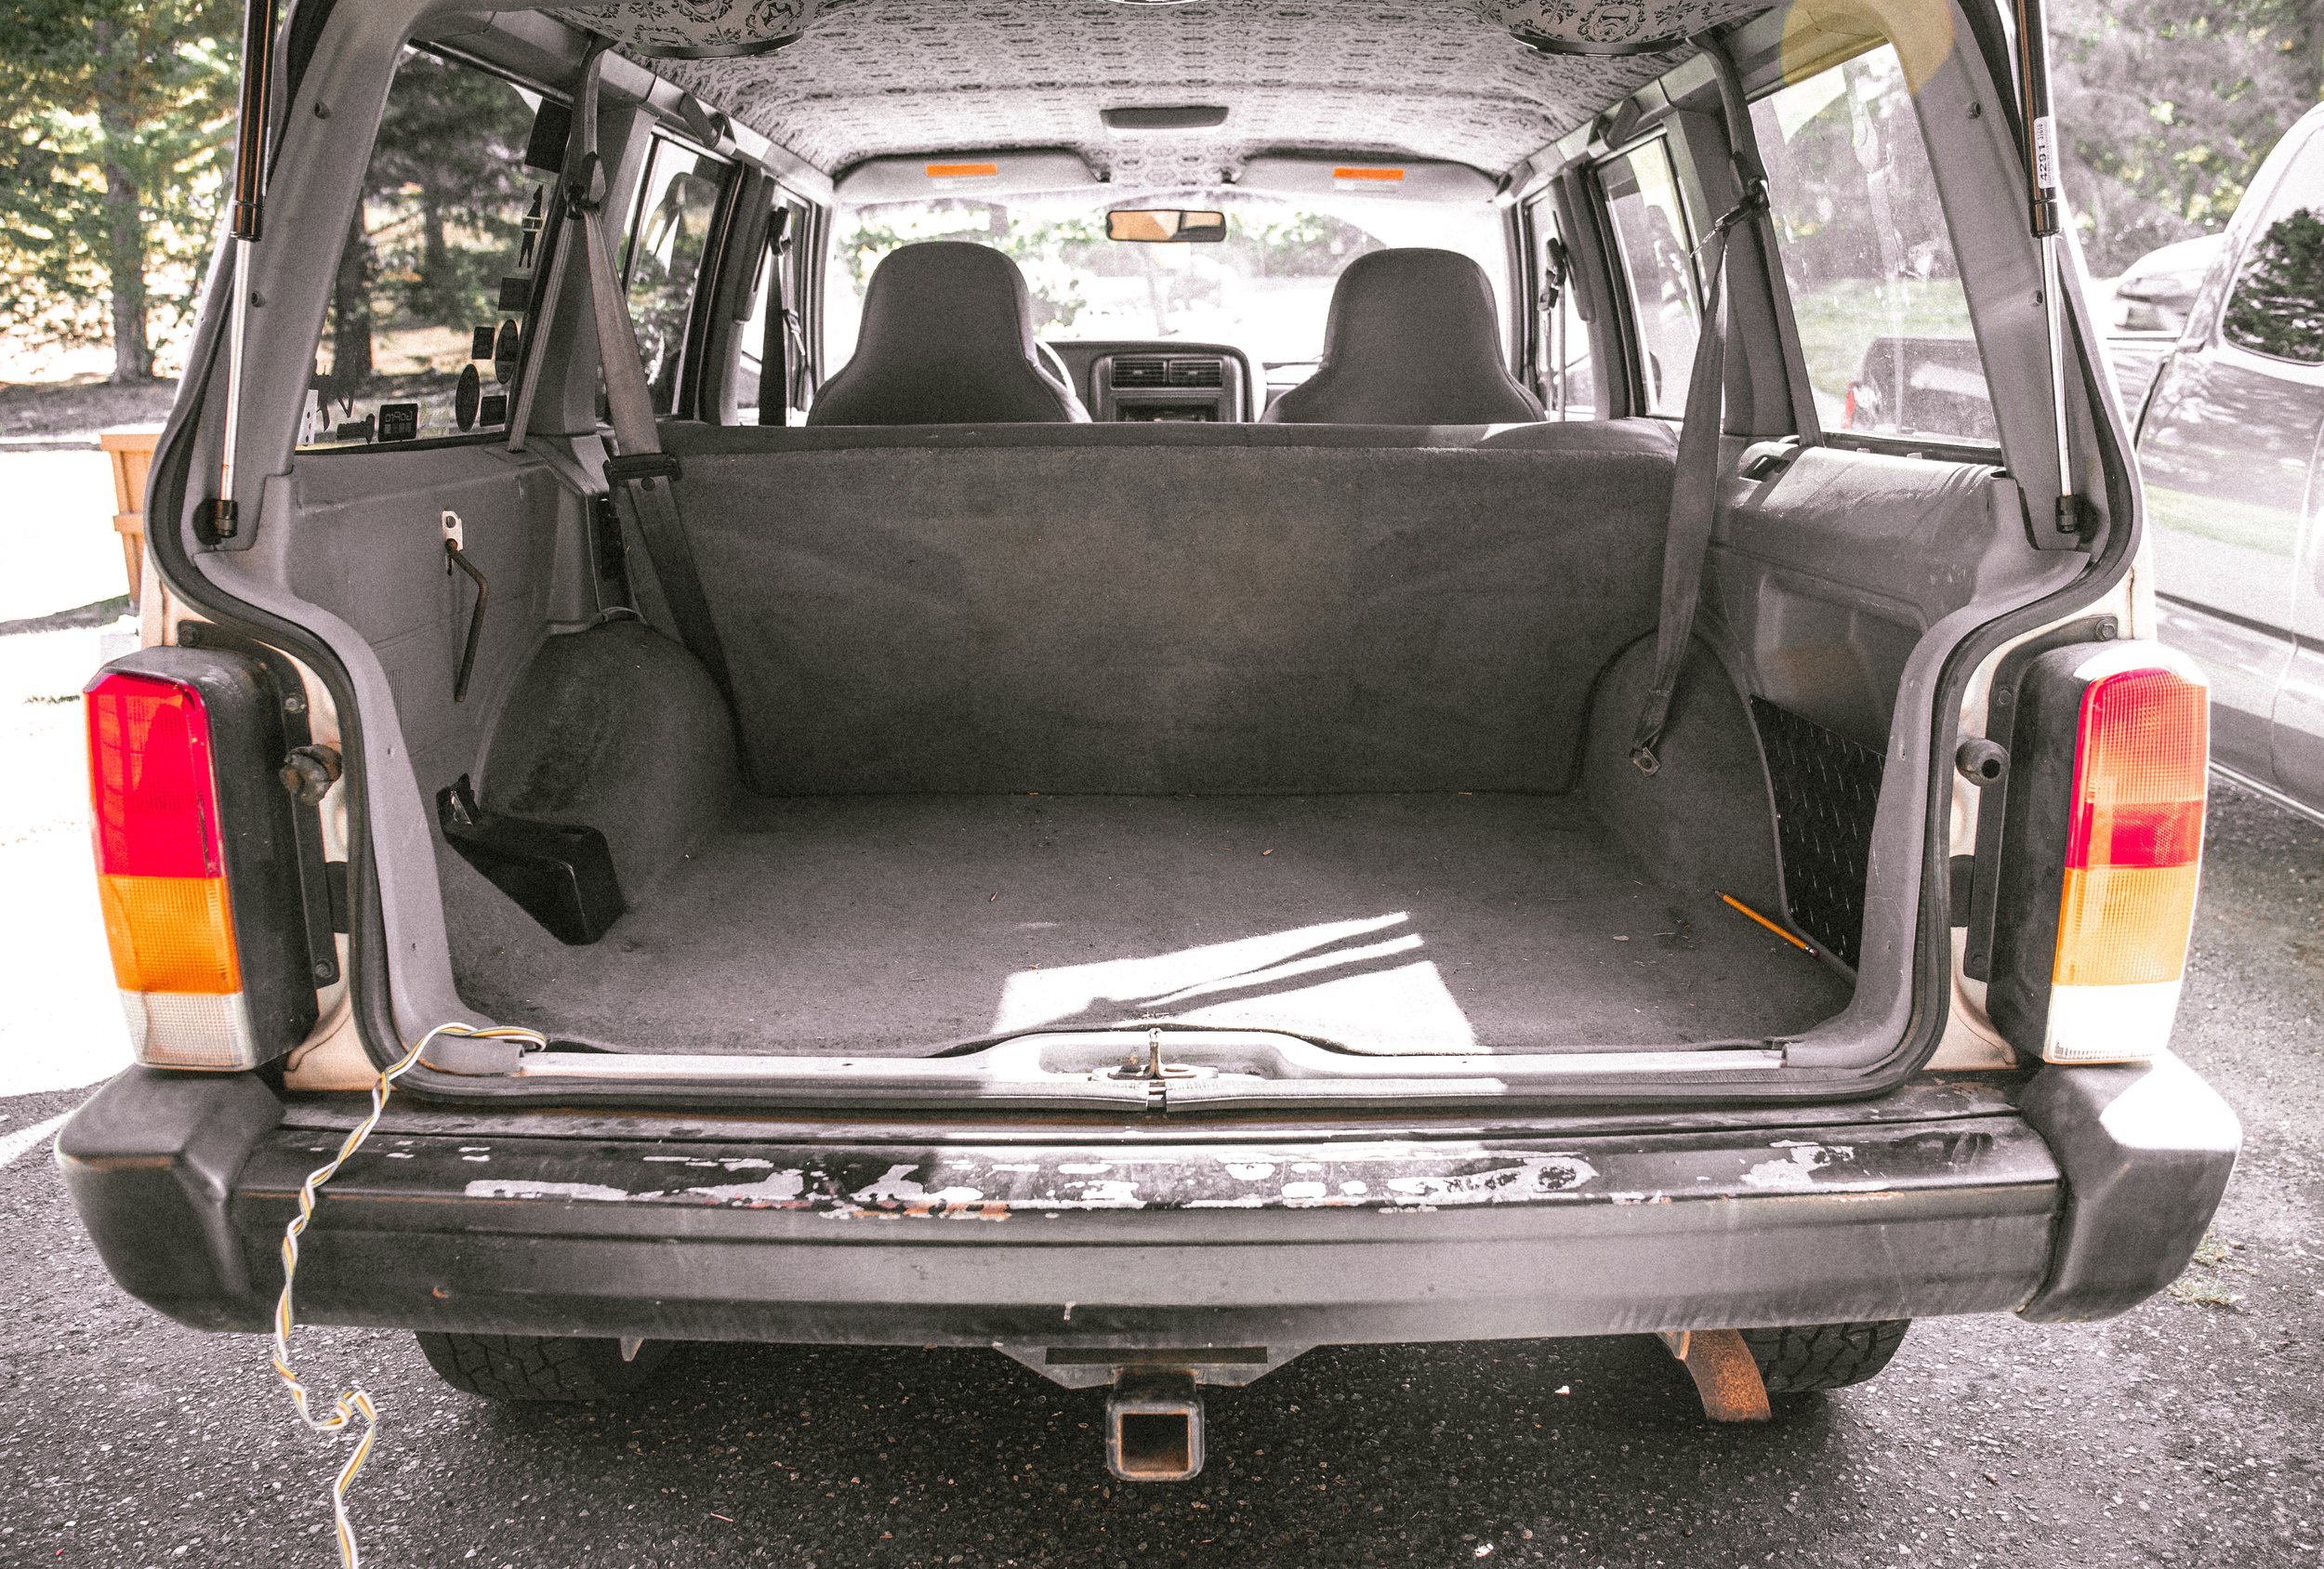
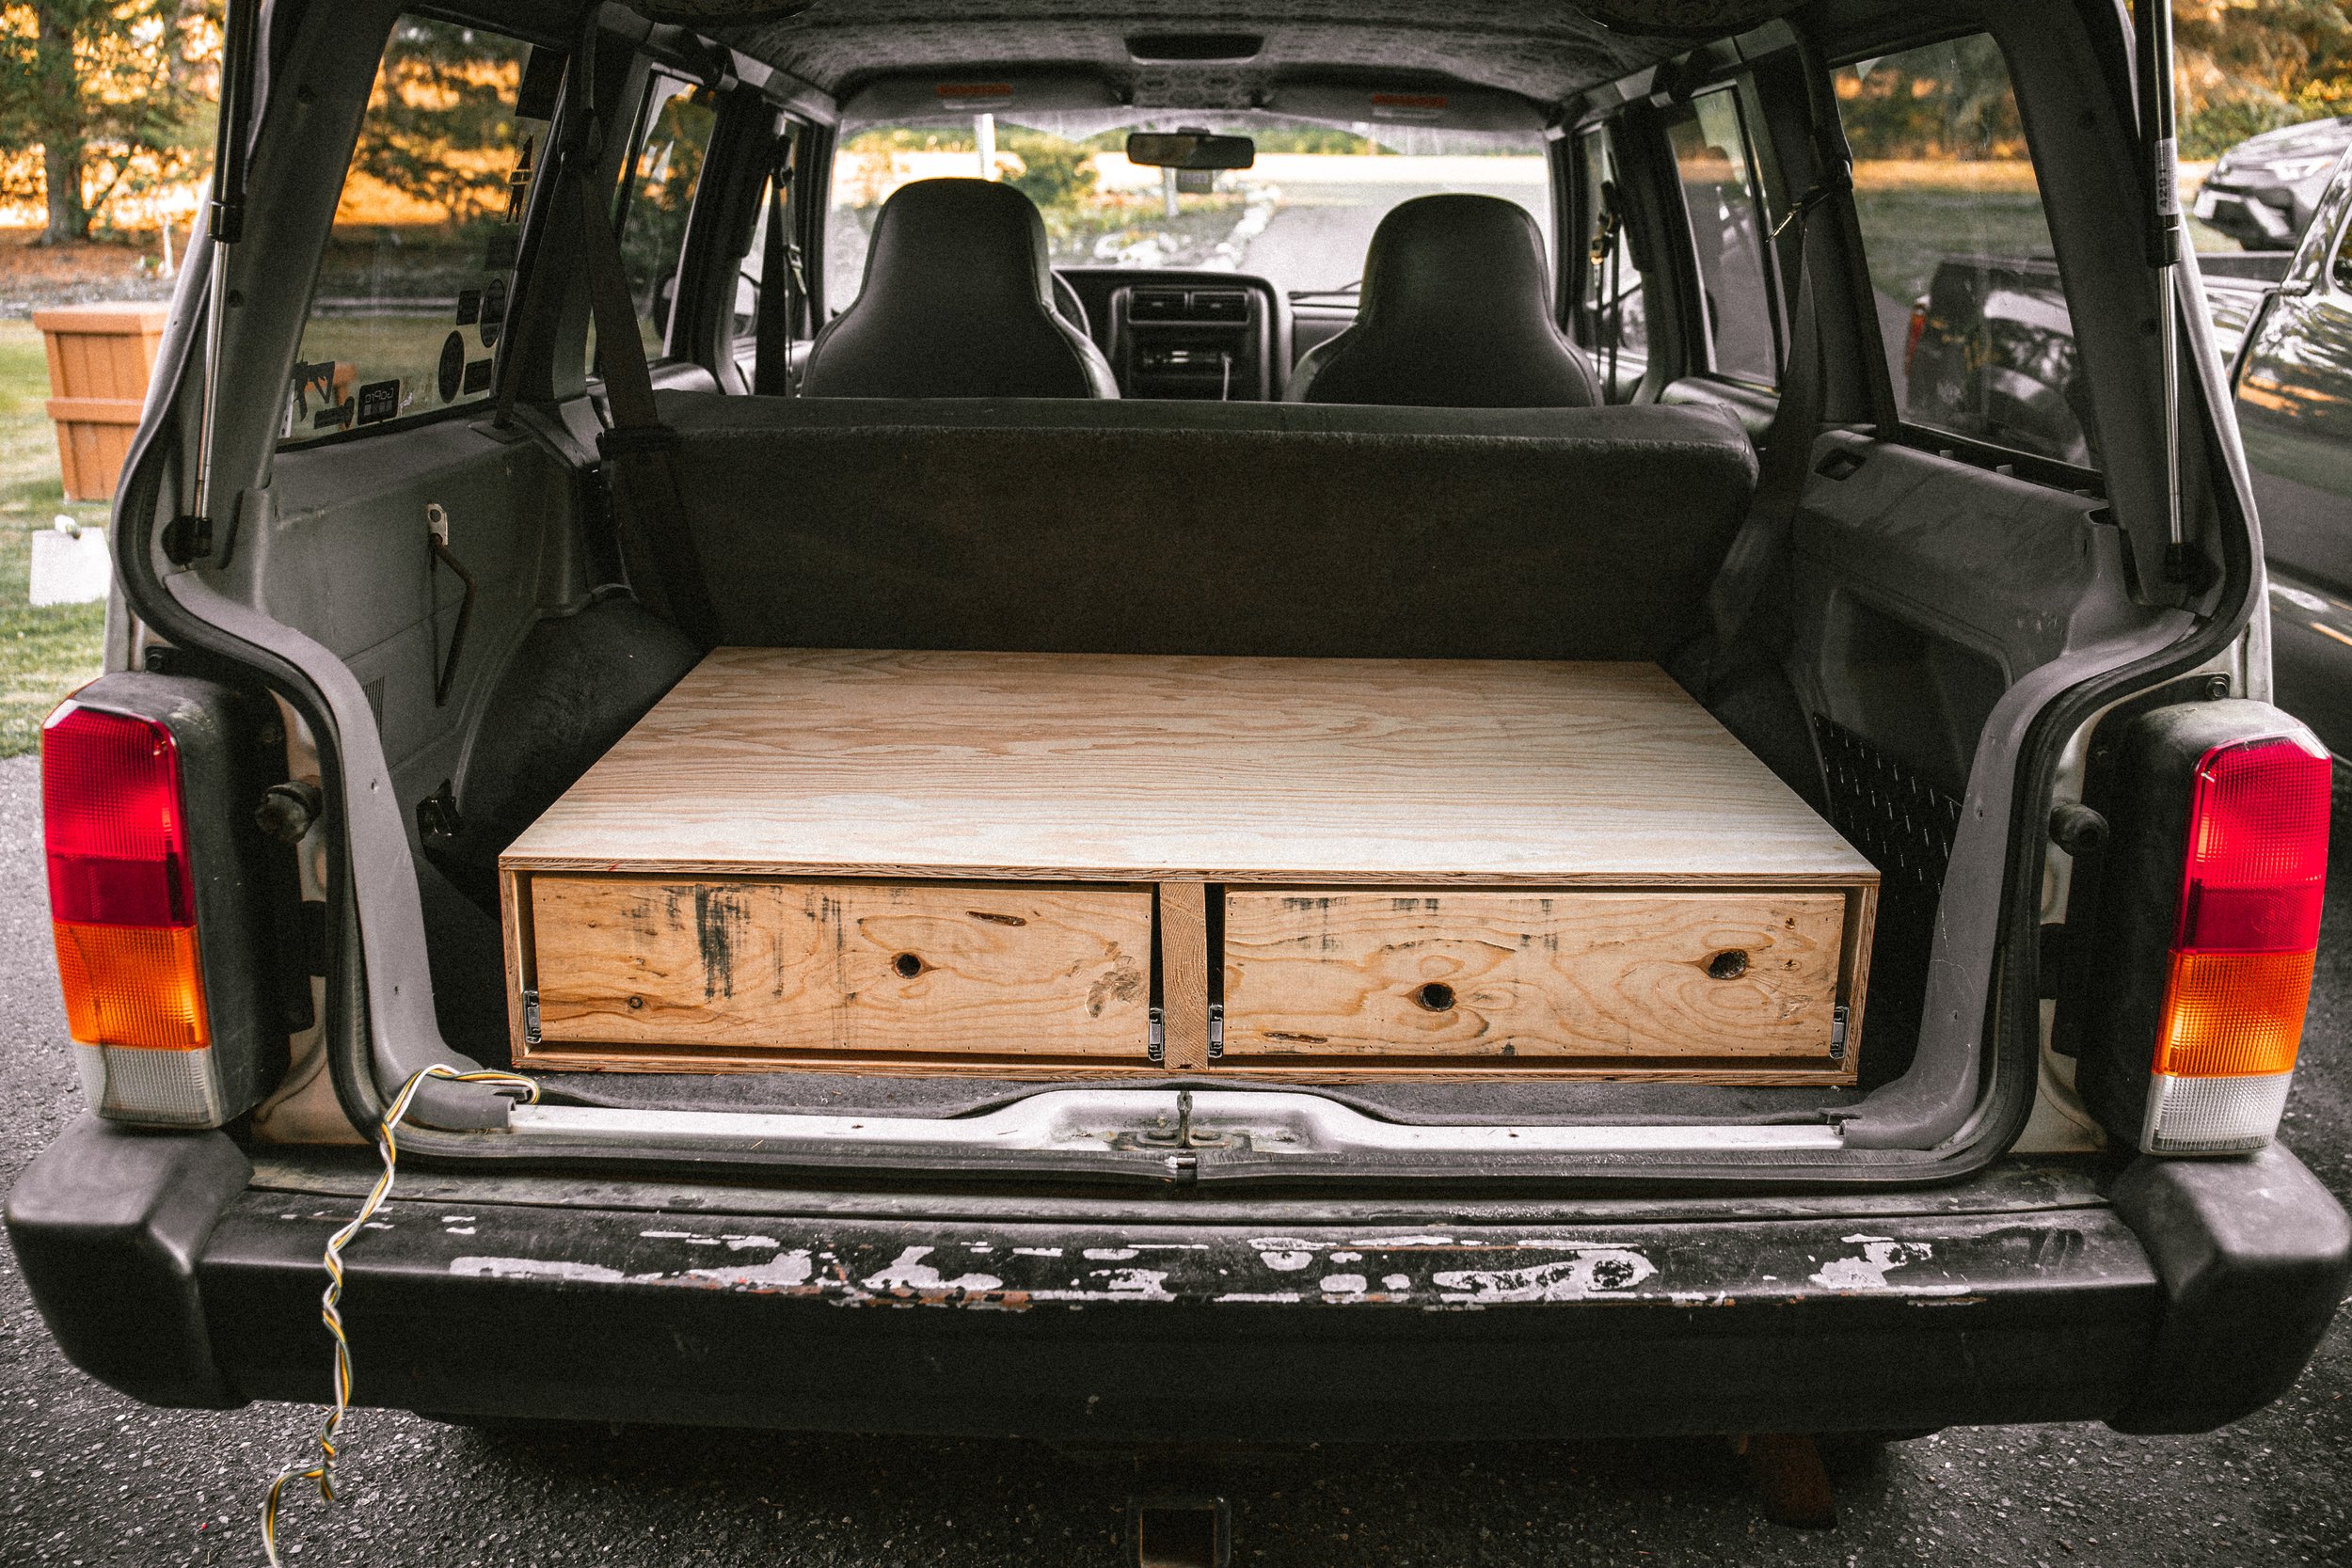
I liked the idea of keeping the rear seats as I have a family and would love to pack them all in my rig and go on adventure. And by deleting my back seat that wouldn’t happen. So, with that in mind I plotted out my build. To start, I measured out the space and decided how I wanted to mount the drawer system.

There are four stock tie down spots in the cargo area that seemed appropriate for bolting down and securing to the vehicle. I’m not positive if every xj comes with these but in my sport edition, they do exist. Keep in mind you have to drill out the pop rivets that hold the tie downs in place so if you don’t have a drill and bits, I suggest you buy some. I used four 3/8” carriage bolts to mount the structure to the body of the my jeep. To get the holes transferred from the jeep body to the wood, I set the base of the structure in place and drilled from the bottom side of the jeep up through the wood. Before jumping to the next hole, I would place the carriage bolt in the hole I just drilled to help stabilize the base and keep it from moving around while drilling.
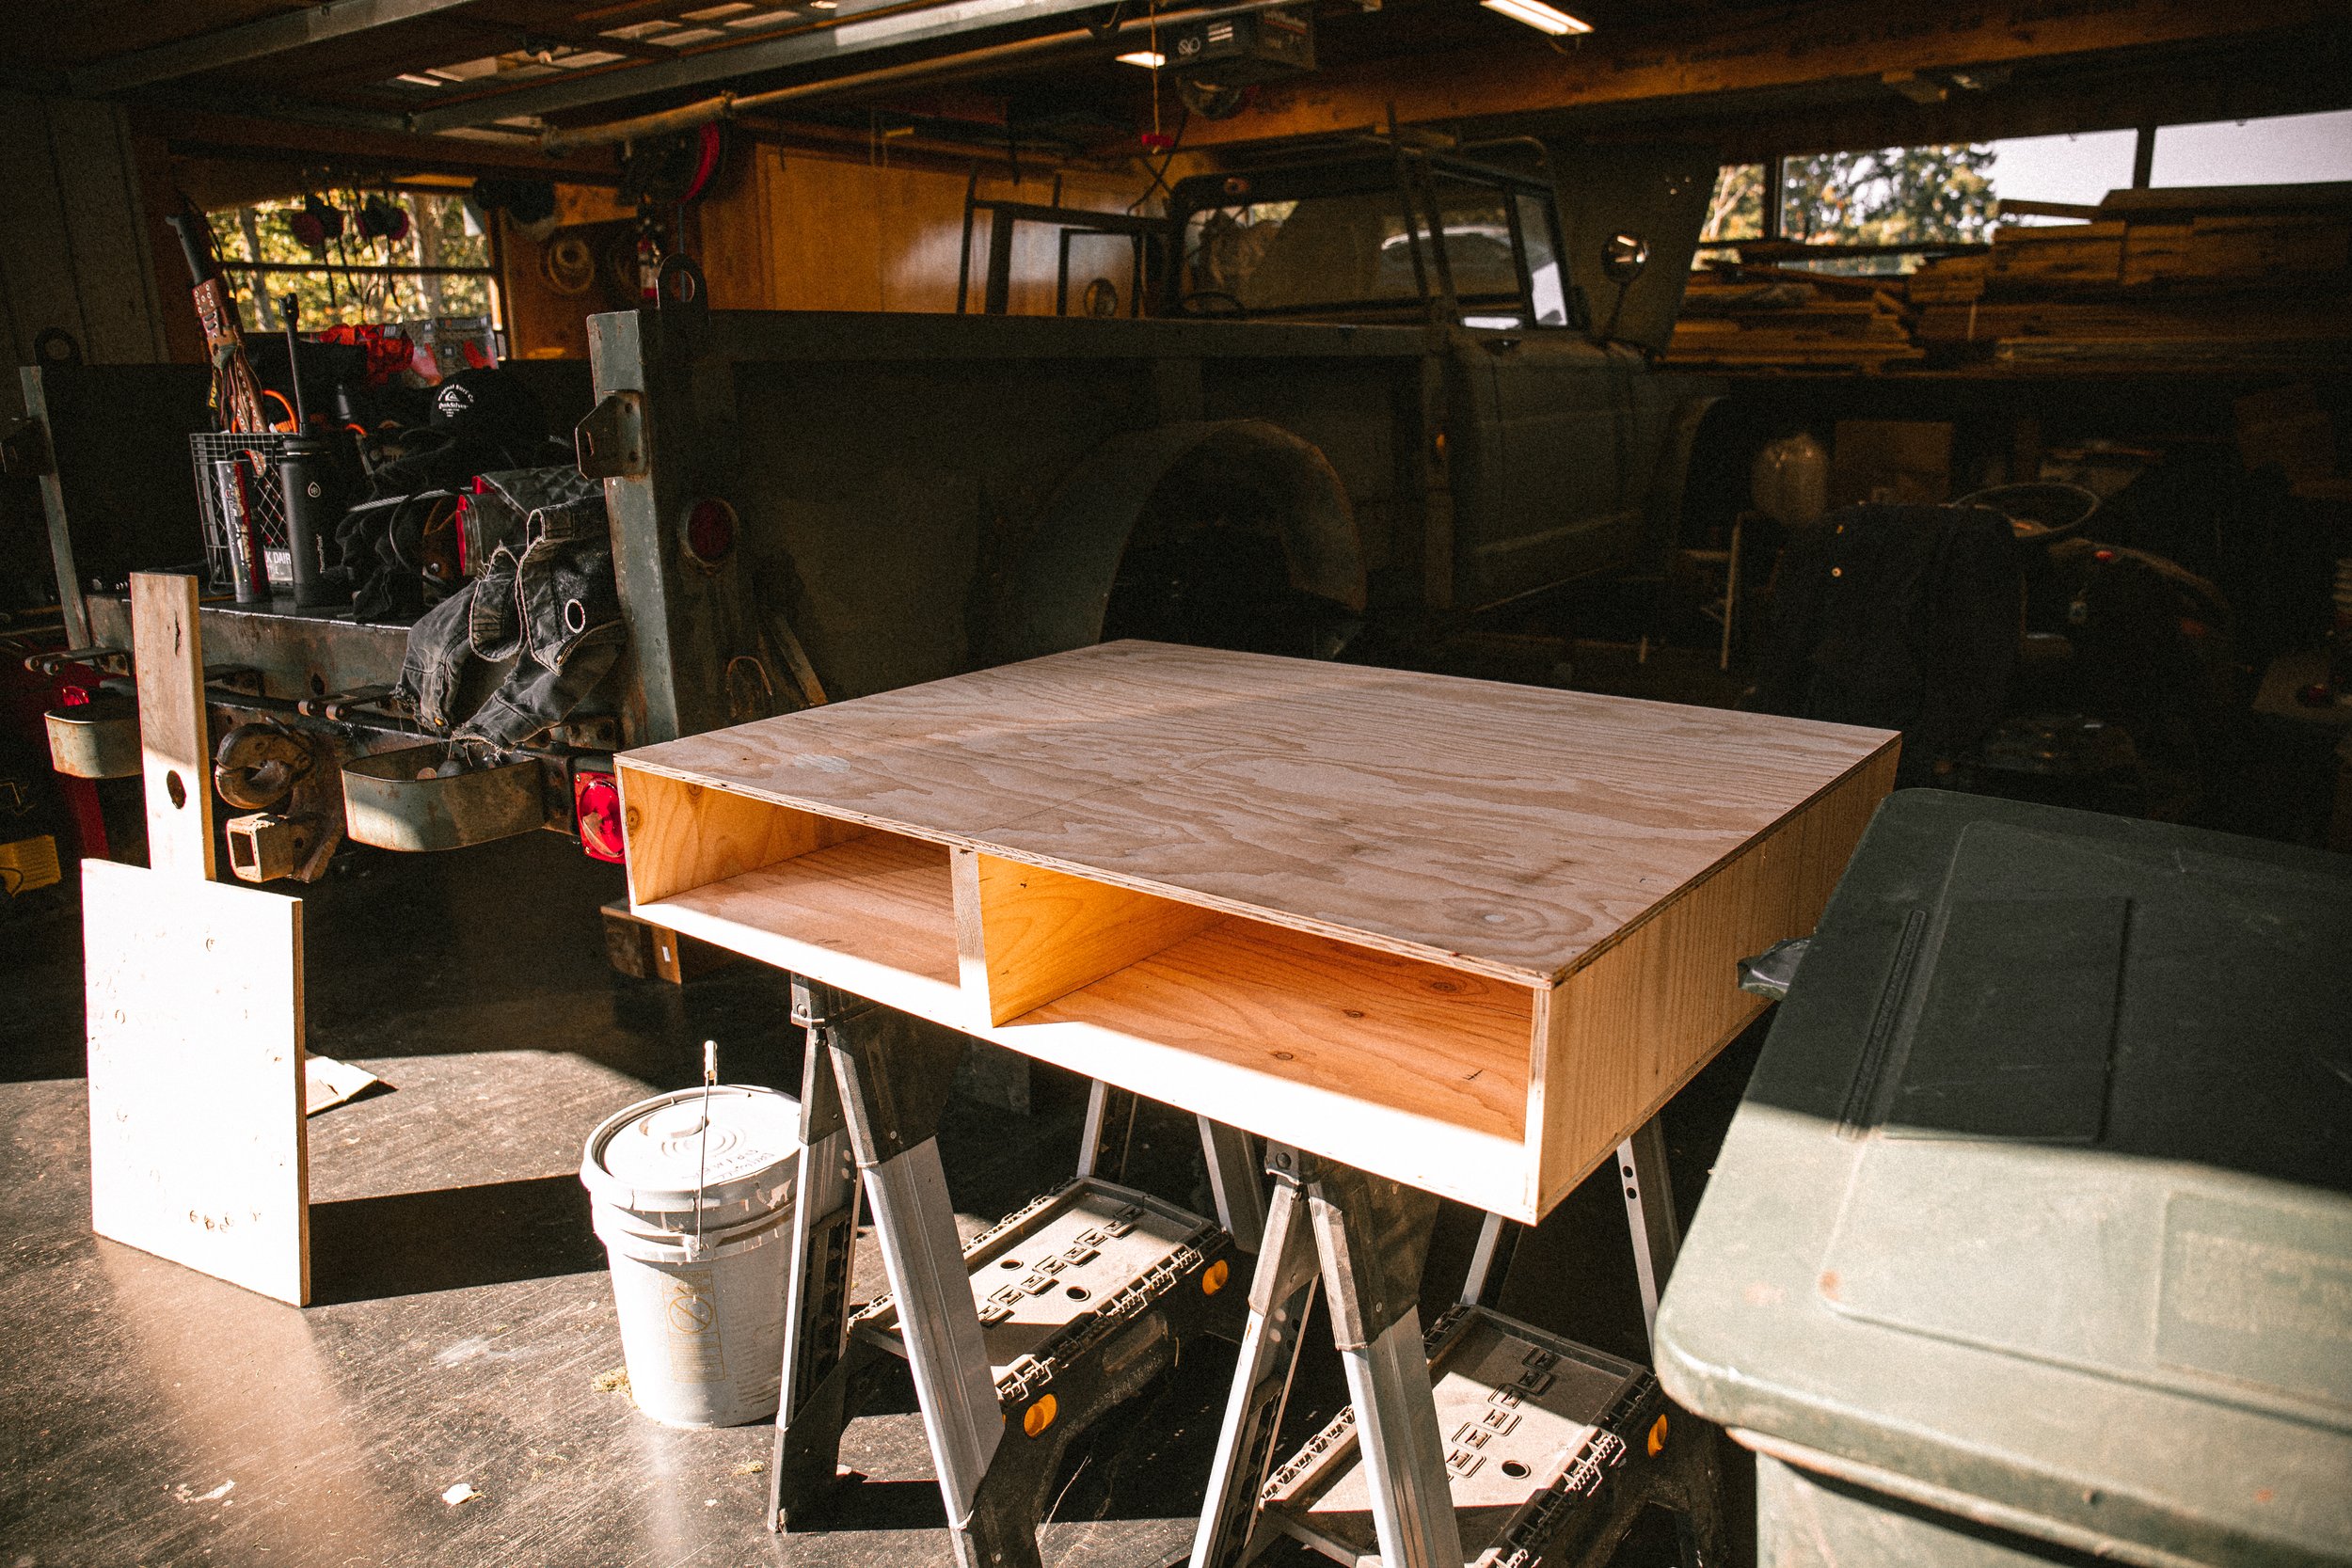
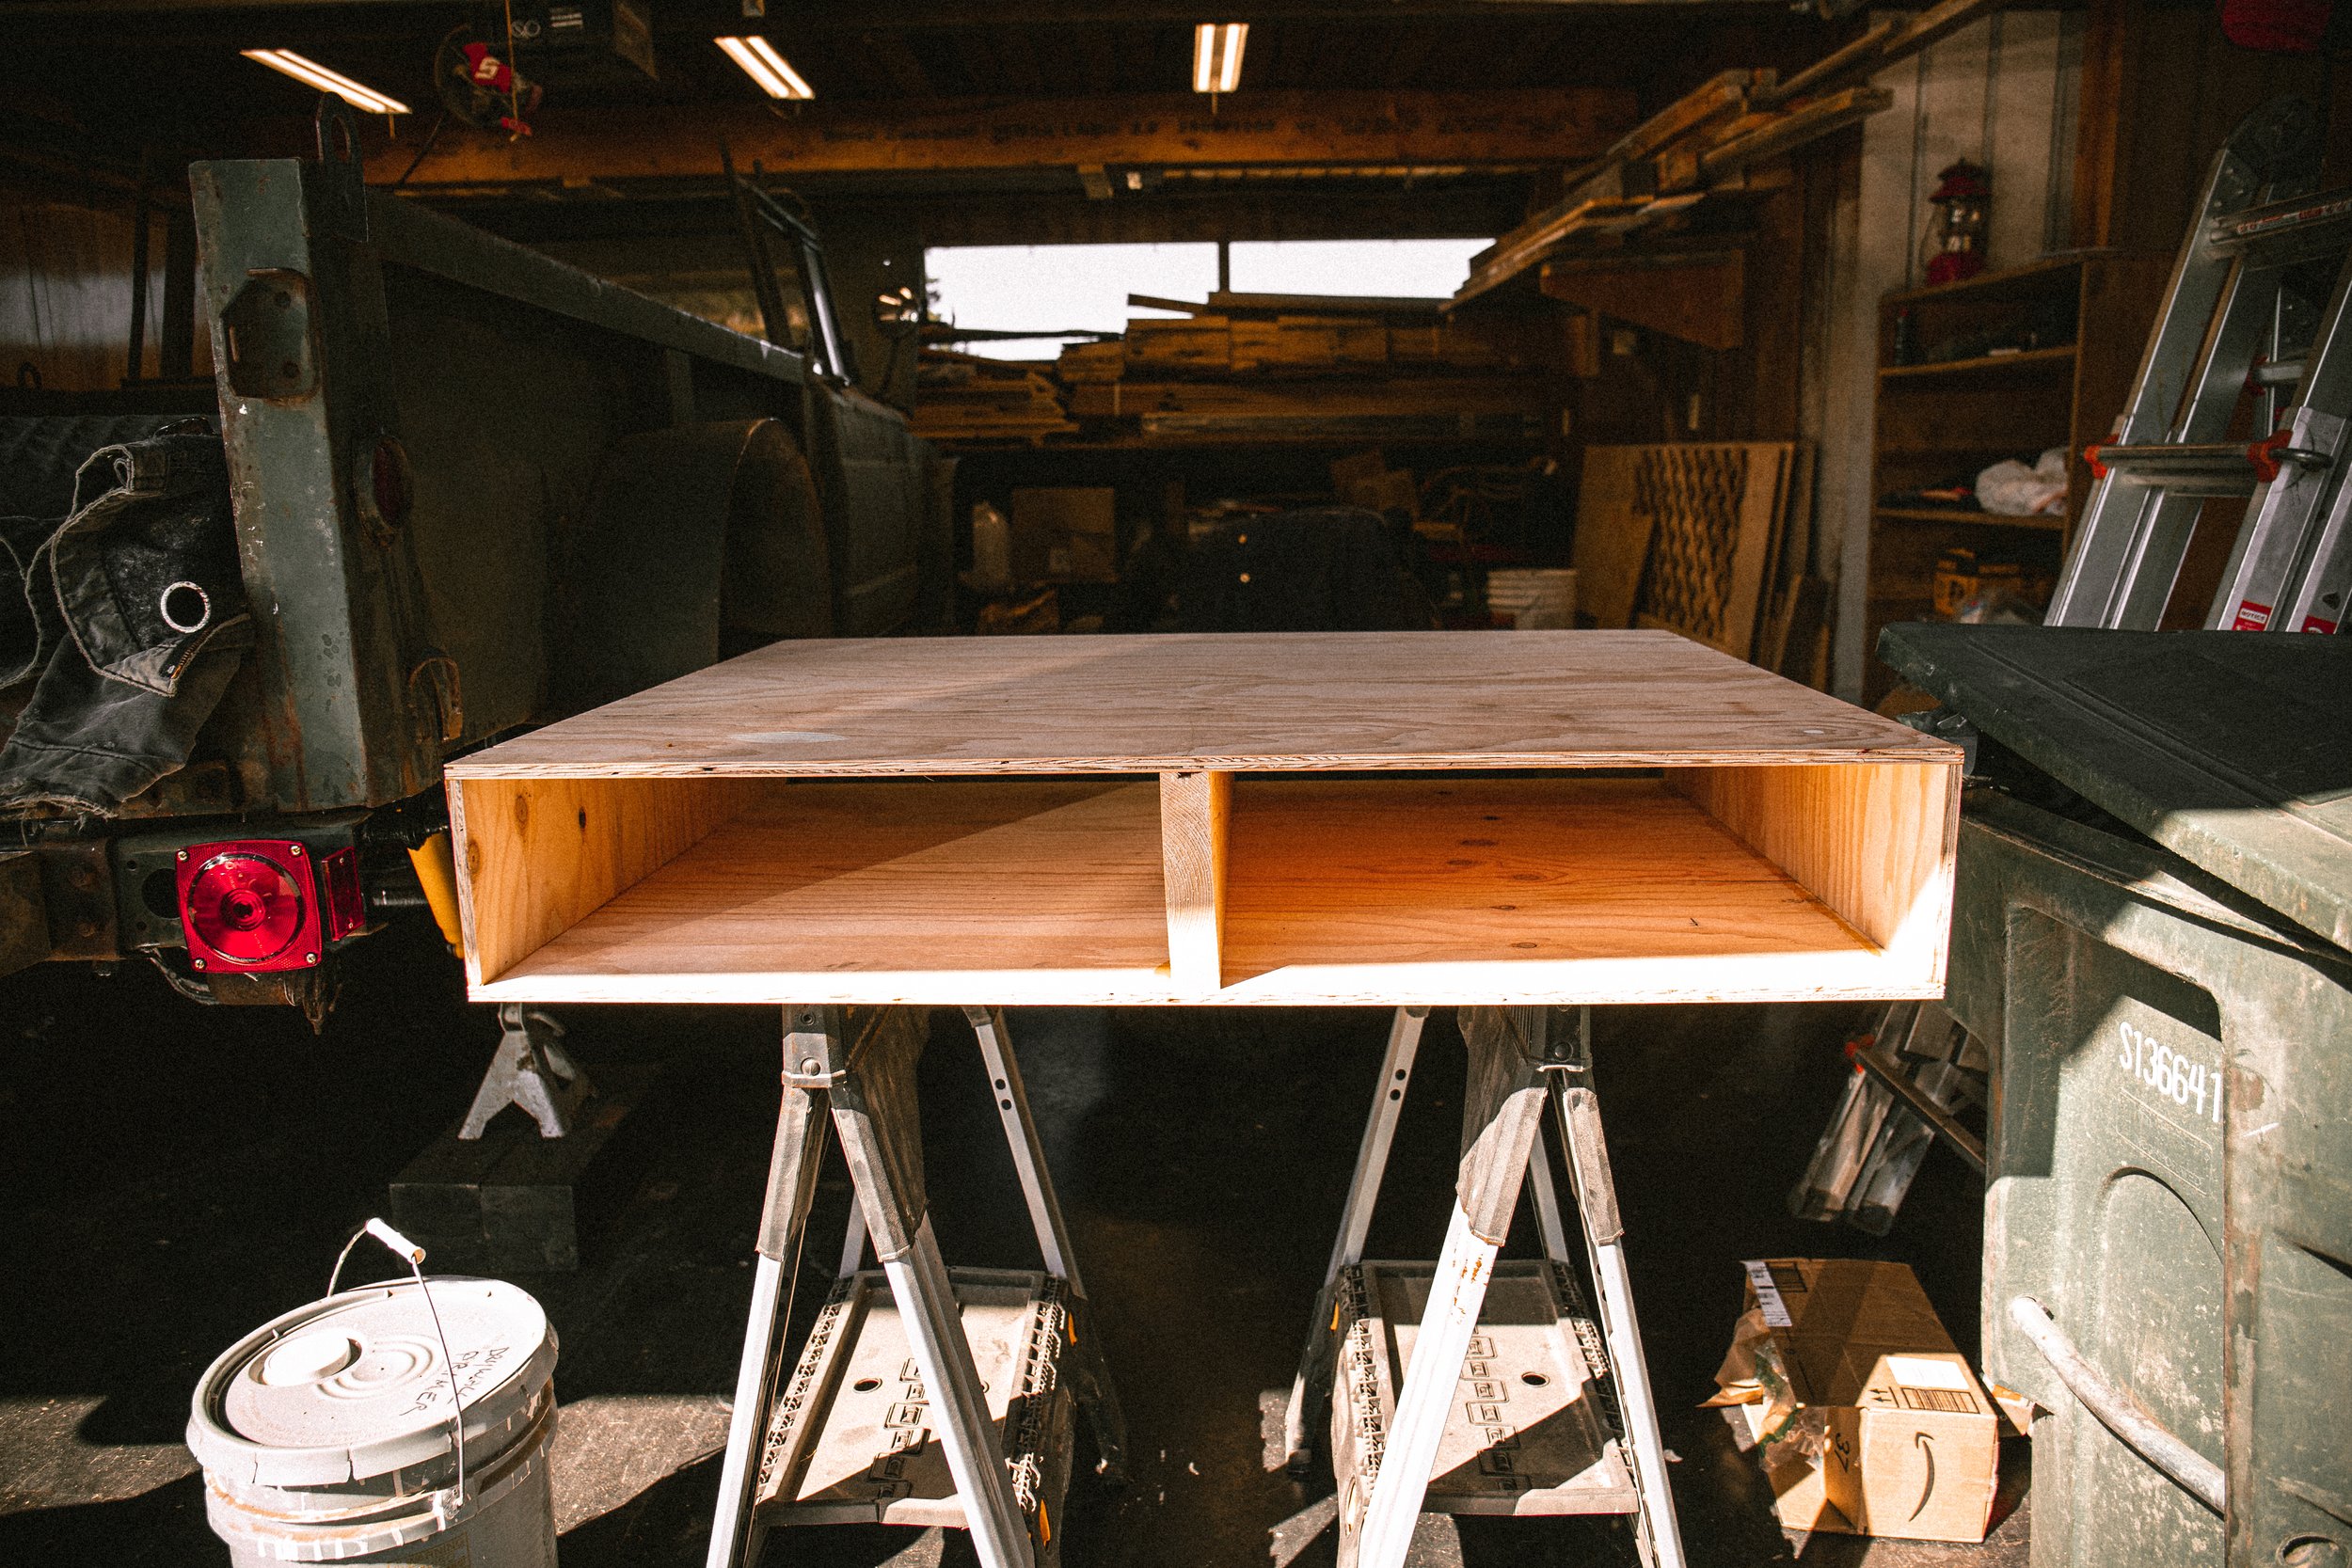
Next I started assembling the structure of my drawer system. Using 3/4” plywood, I cut the top and bottom sections of my structure. For the sides I had some 3/4” pallet wood hanging around that I have been saving for such a time as this. The middle piece is a chunk of 1-1/4” tongue and groove pine I also had laying around so I utilized it for the center structure. Using titebond wood glue and a pneumatic nail gun, I put together all the pieces for the structure.
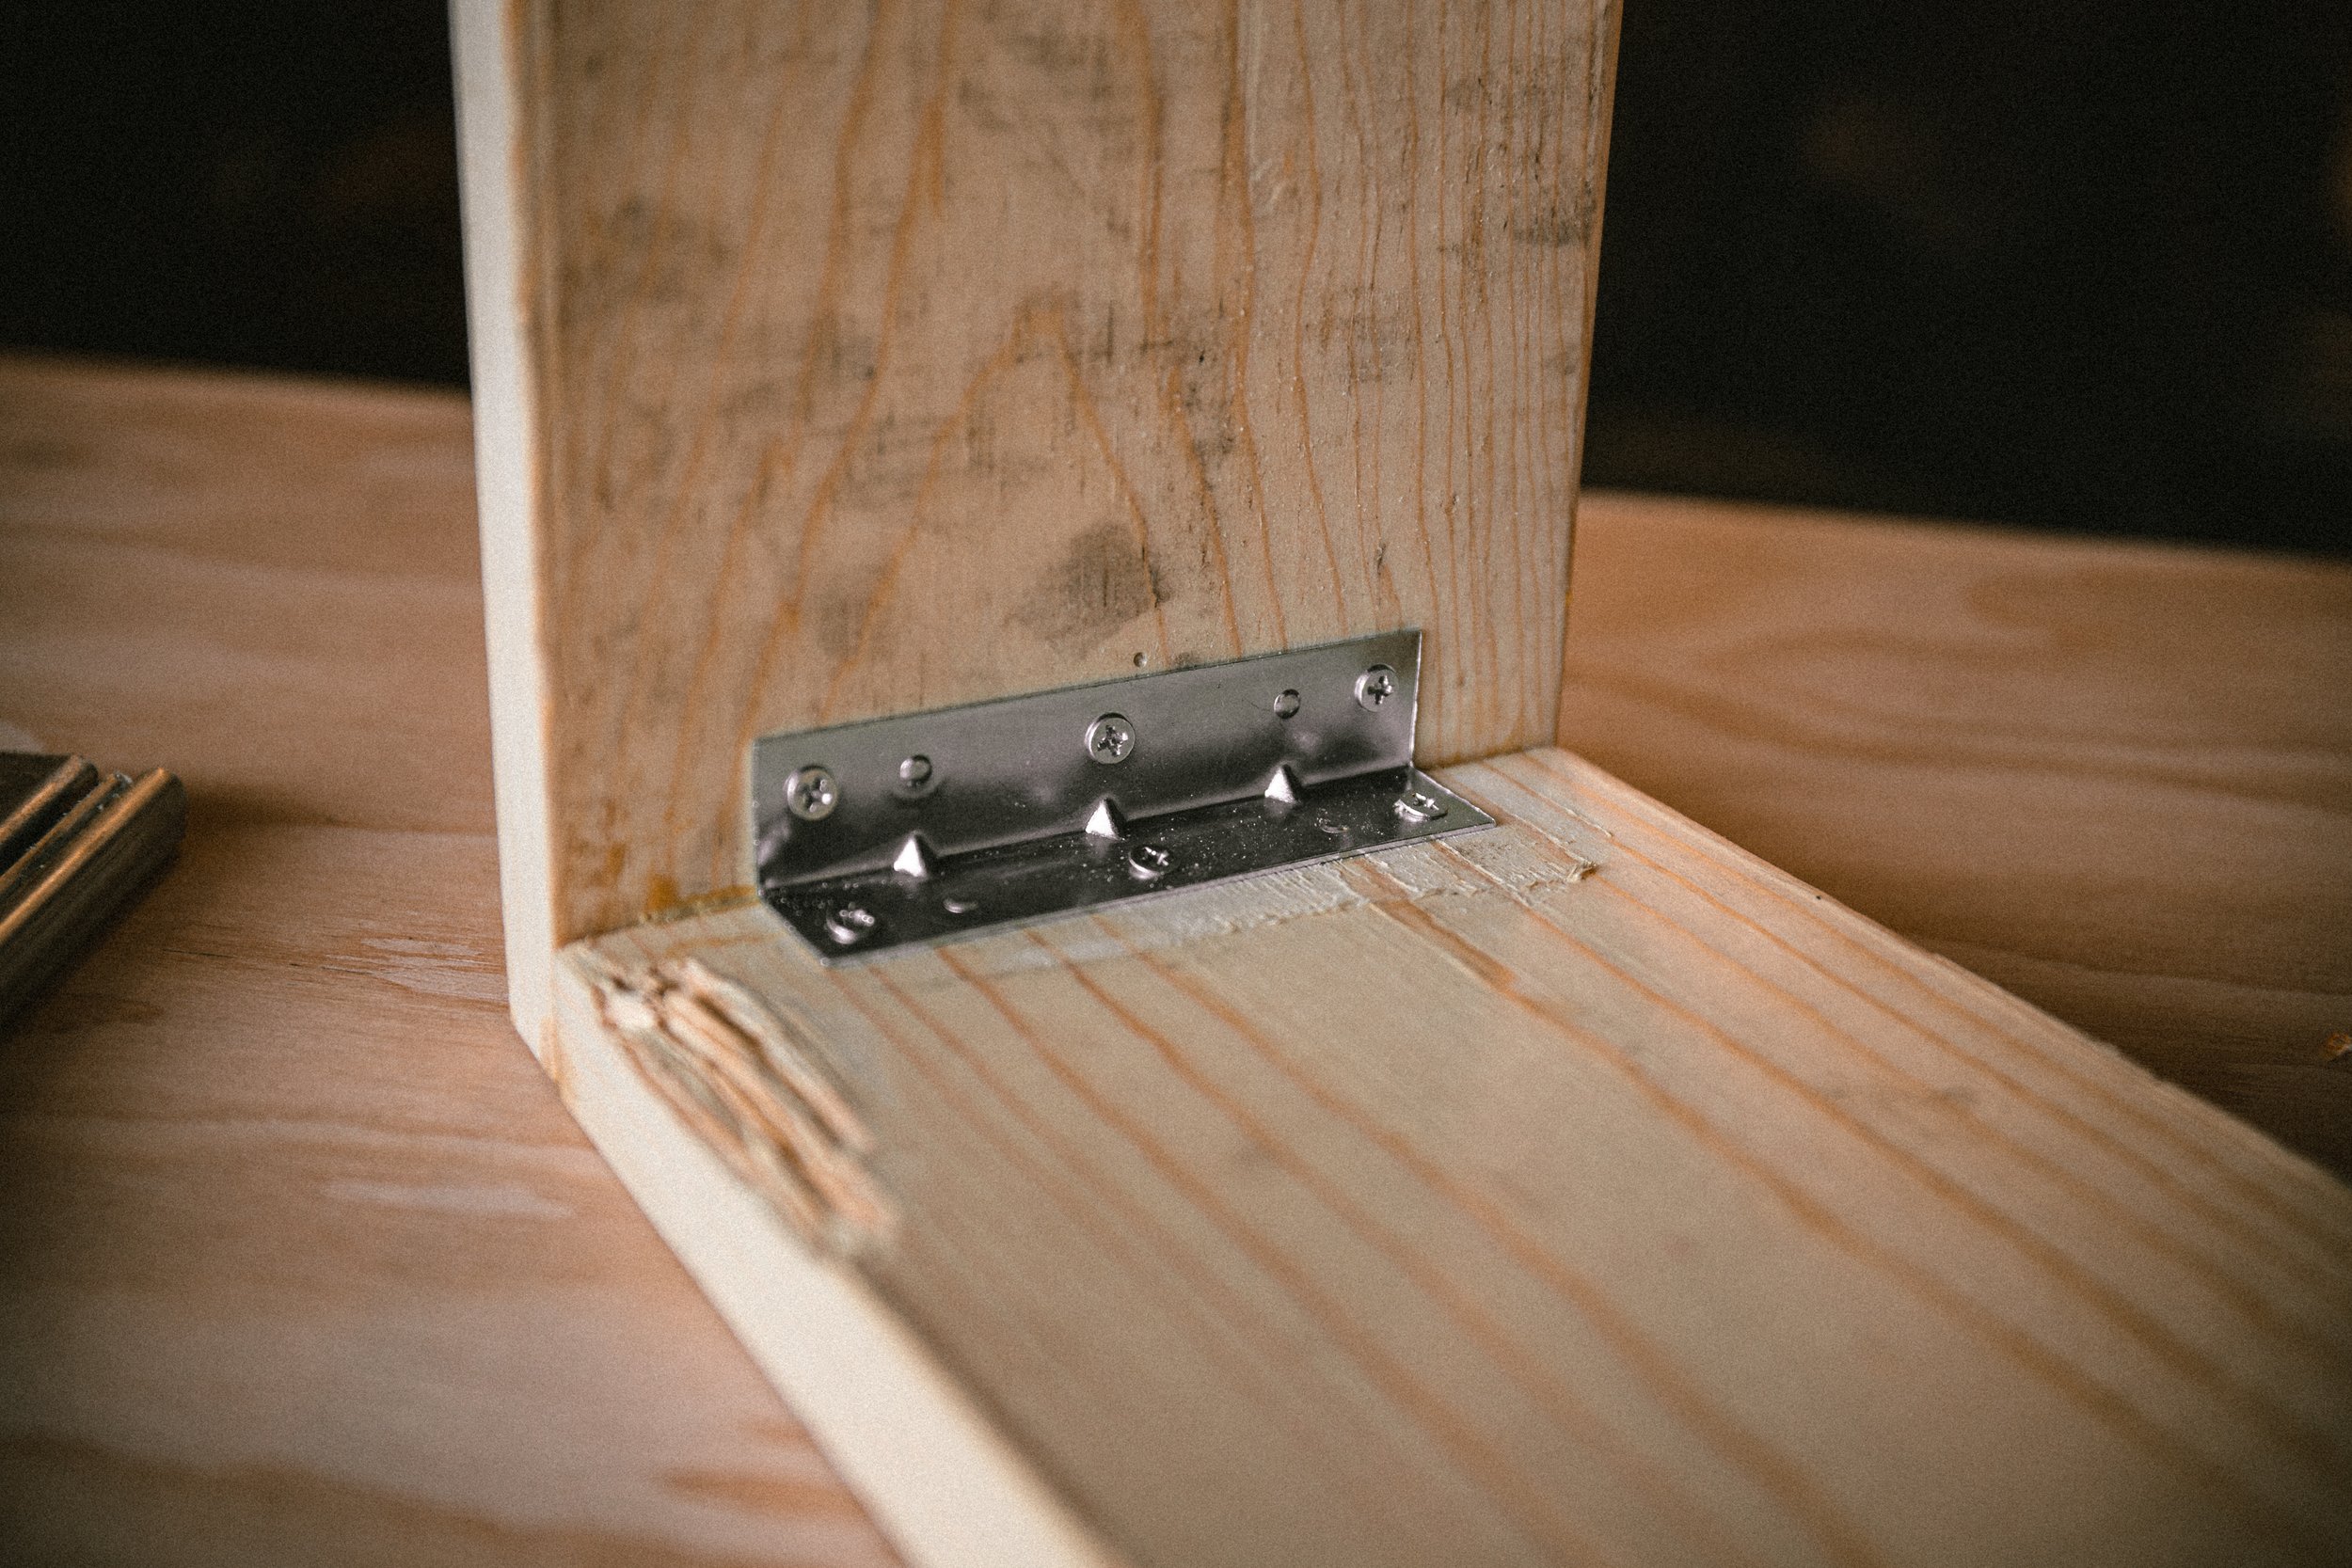
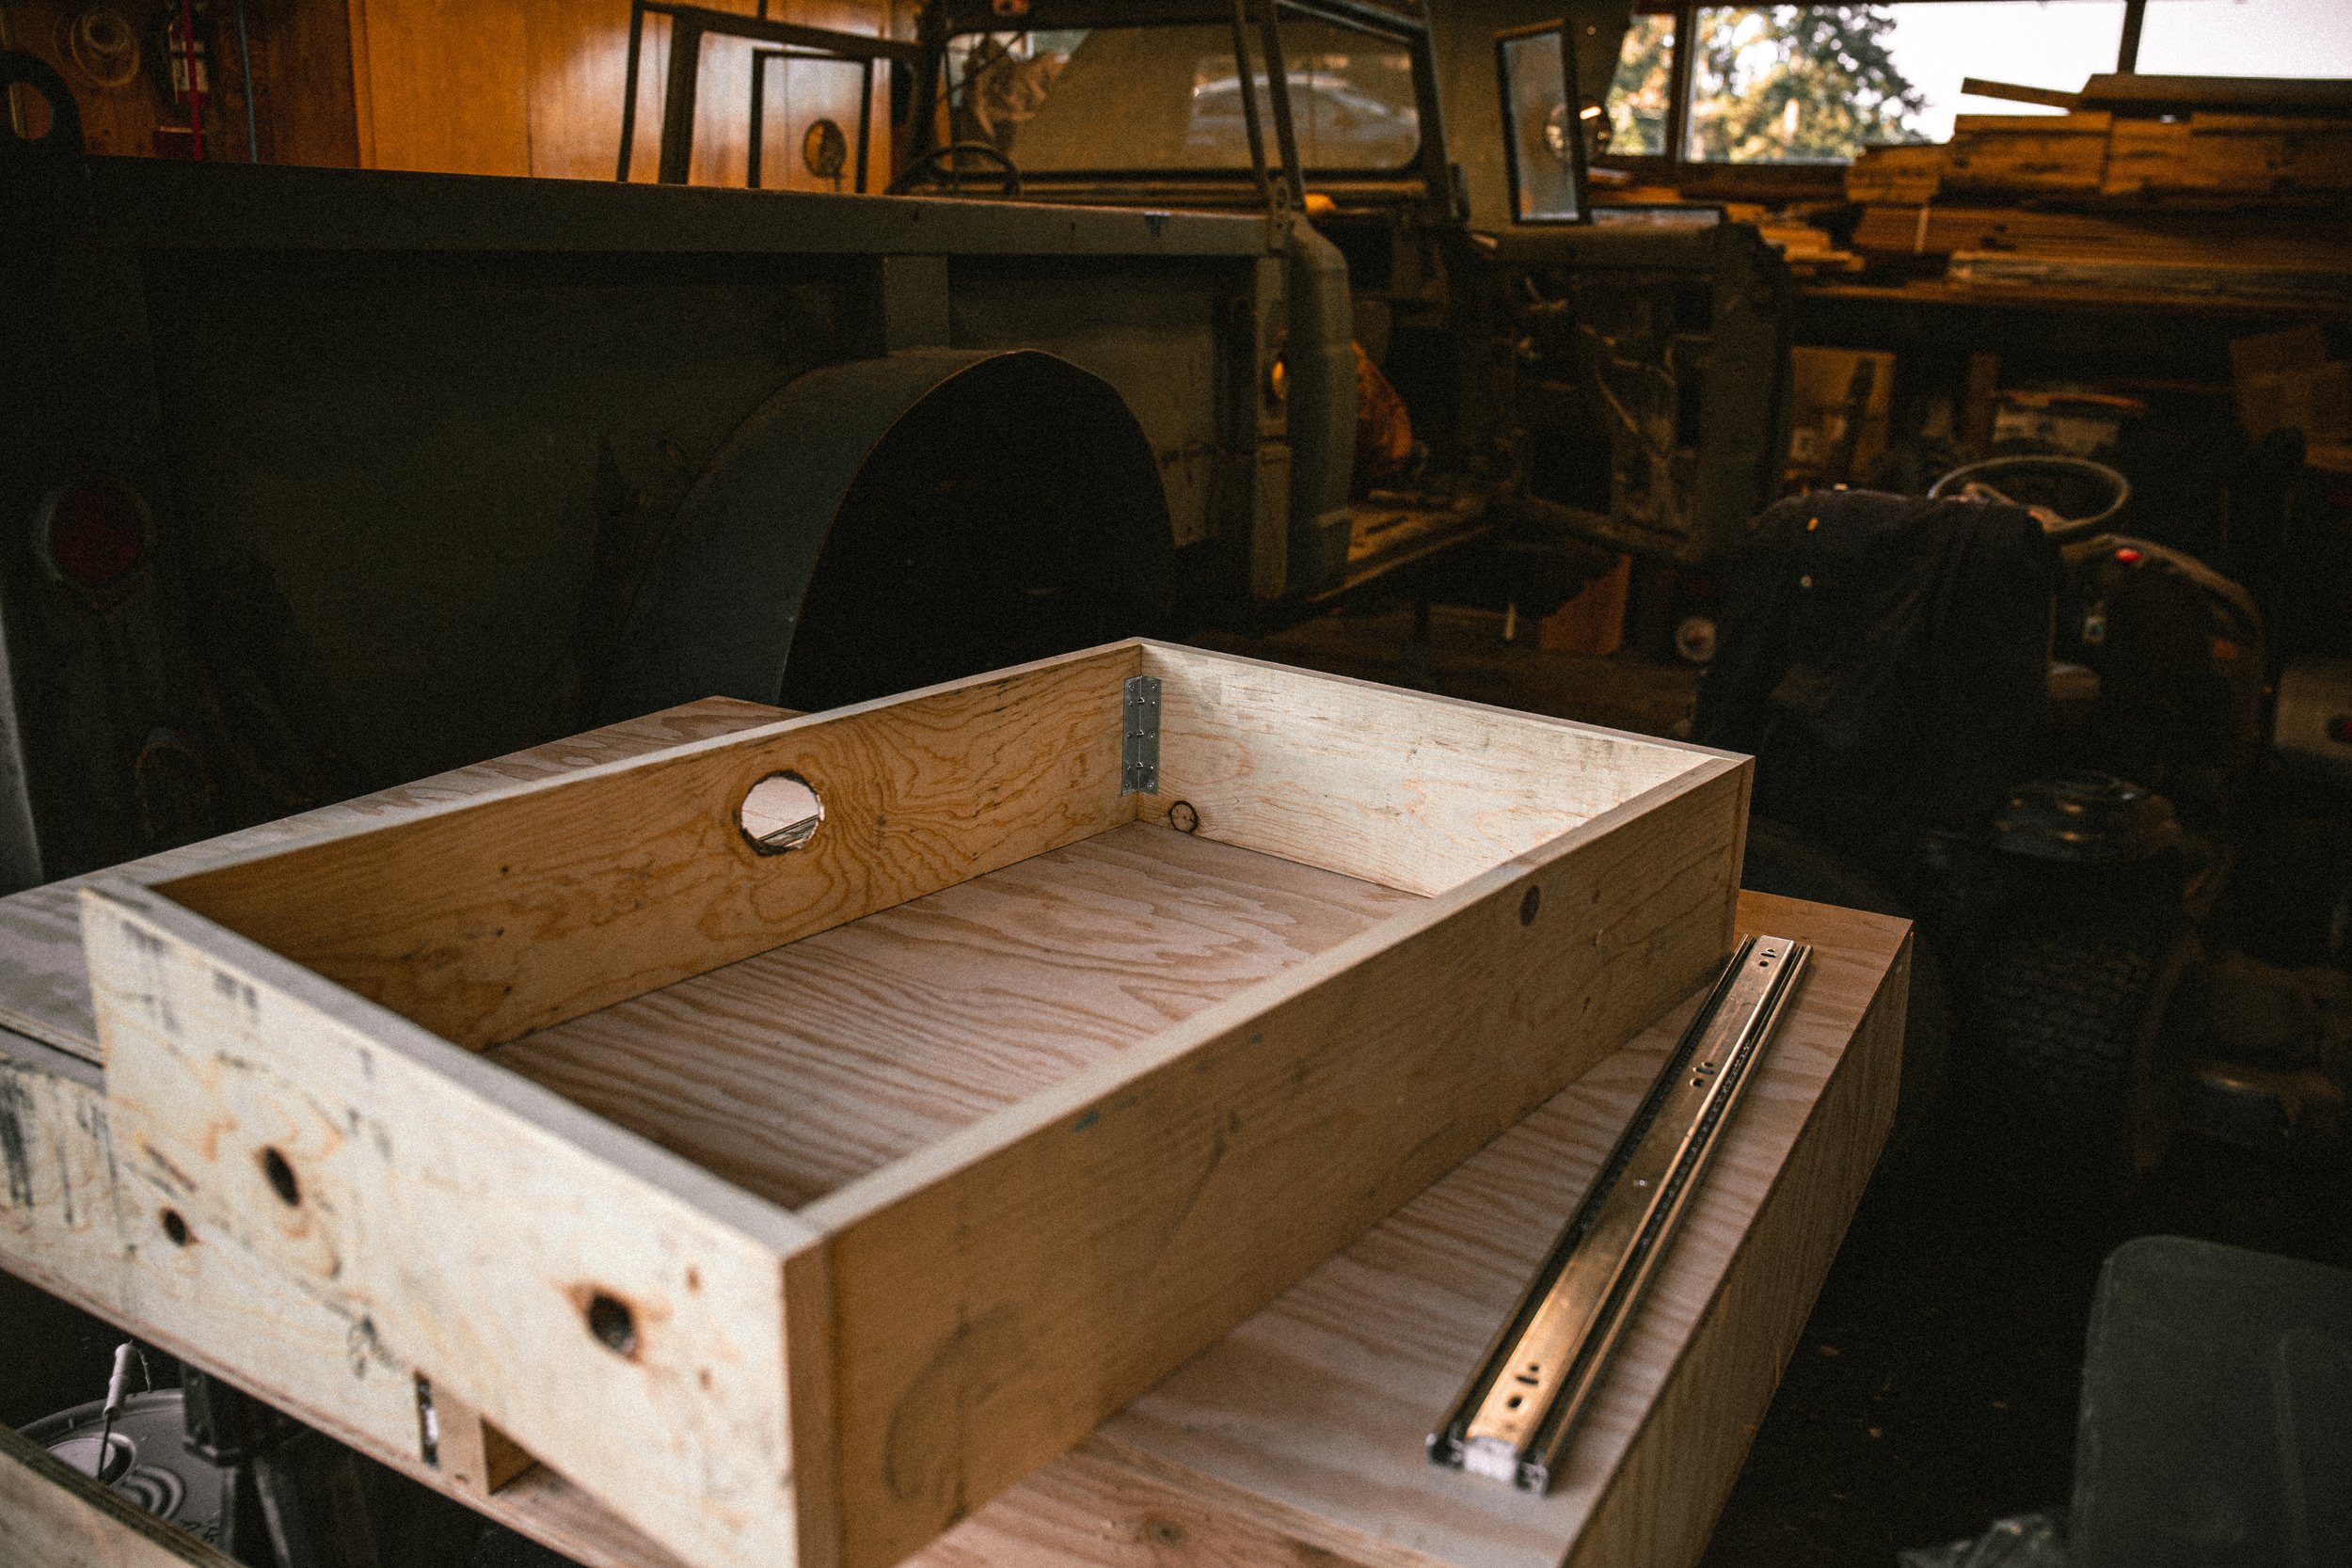
Next came the drawers. I measured out the tolerance of the ball bearing slides I used and each drawer opening. Doing some quick math, I got the dimensions for my drawers. Using the same 3/4” pallet wood, 1/4” plywood, and eight 3-1/2” inside corner braces, some more titebond and nails, I constructed the two drawers.

Next, I measured out the height of the ball bearing slides, made sure everything was even with each other and mounted the ball bearing slides to the inside of each drawer opening. I recommend using as many of the mounting holes in the slides as possible from the beginning. I only did about half of them, resulting in me having to pull the drawers back out to put more screws in to help make the slides structurally sound. The ball bearing slides I used are heavy duty, 24” Everbuilt full extension ball bearing slides that are rated for 100lbs.
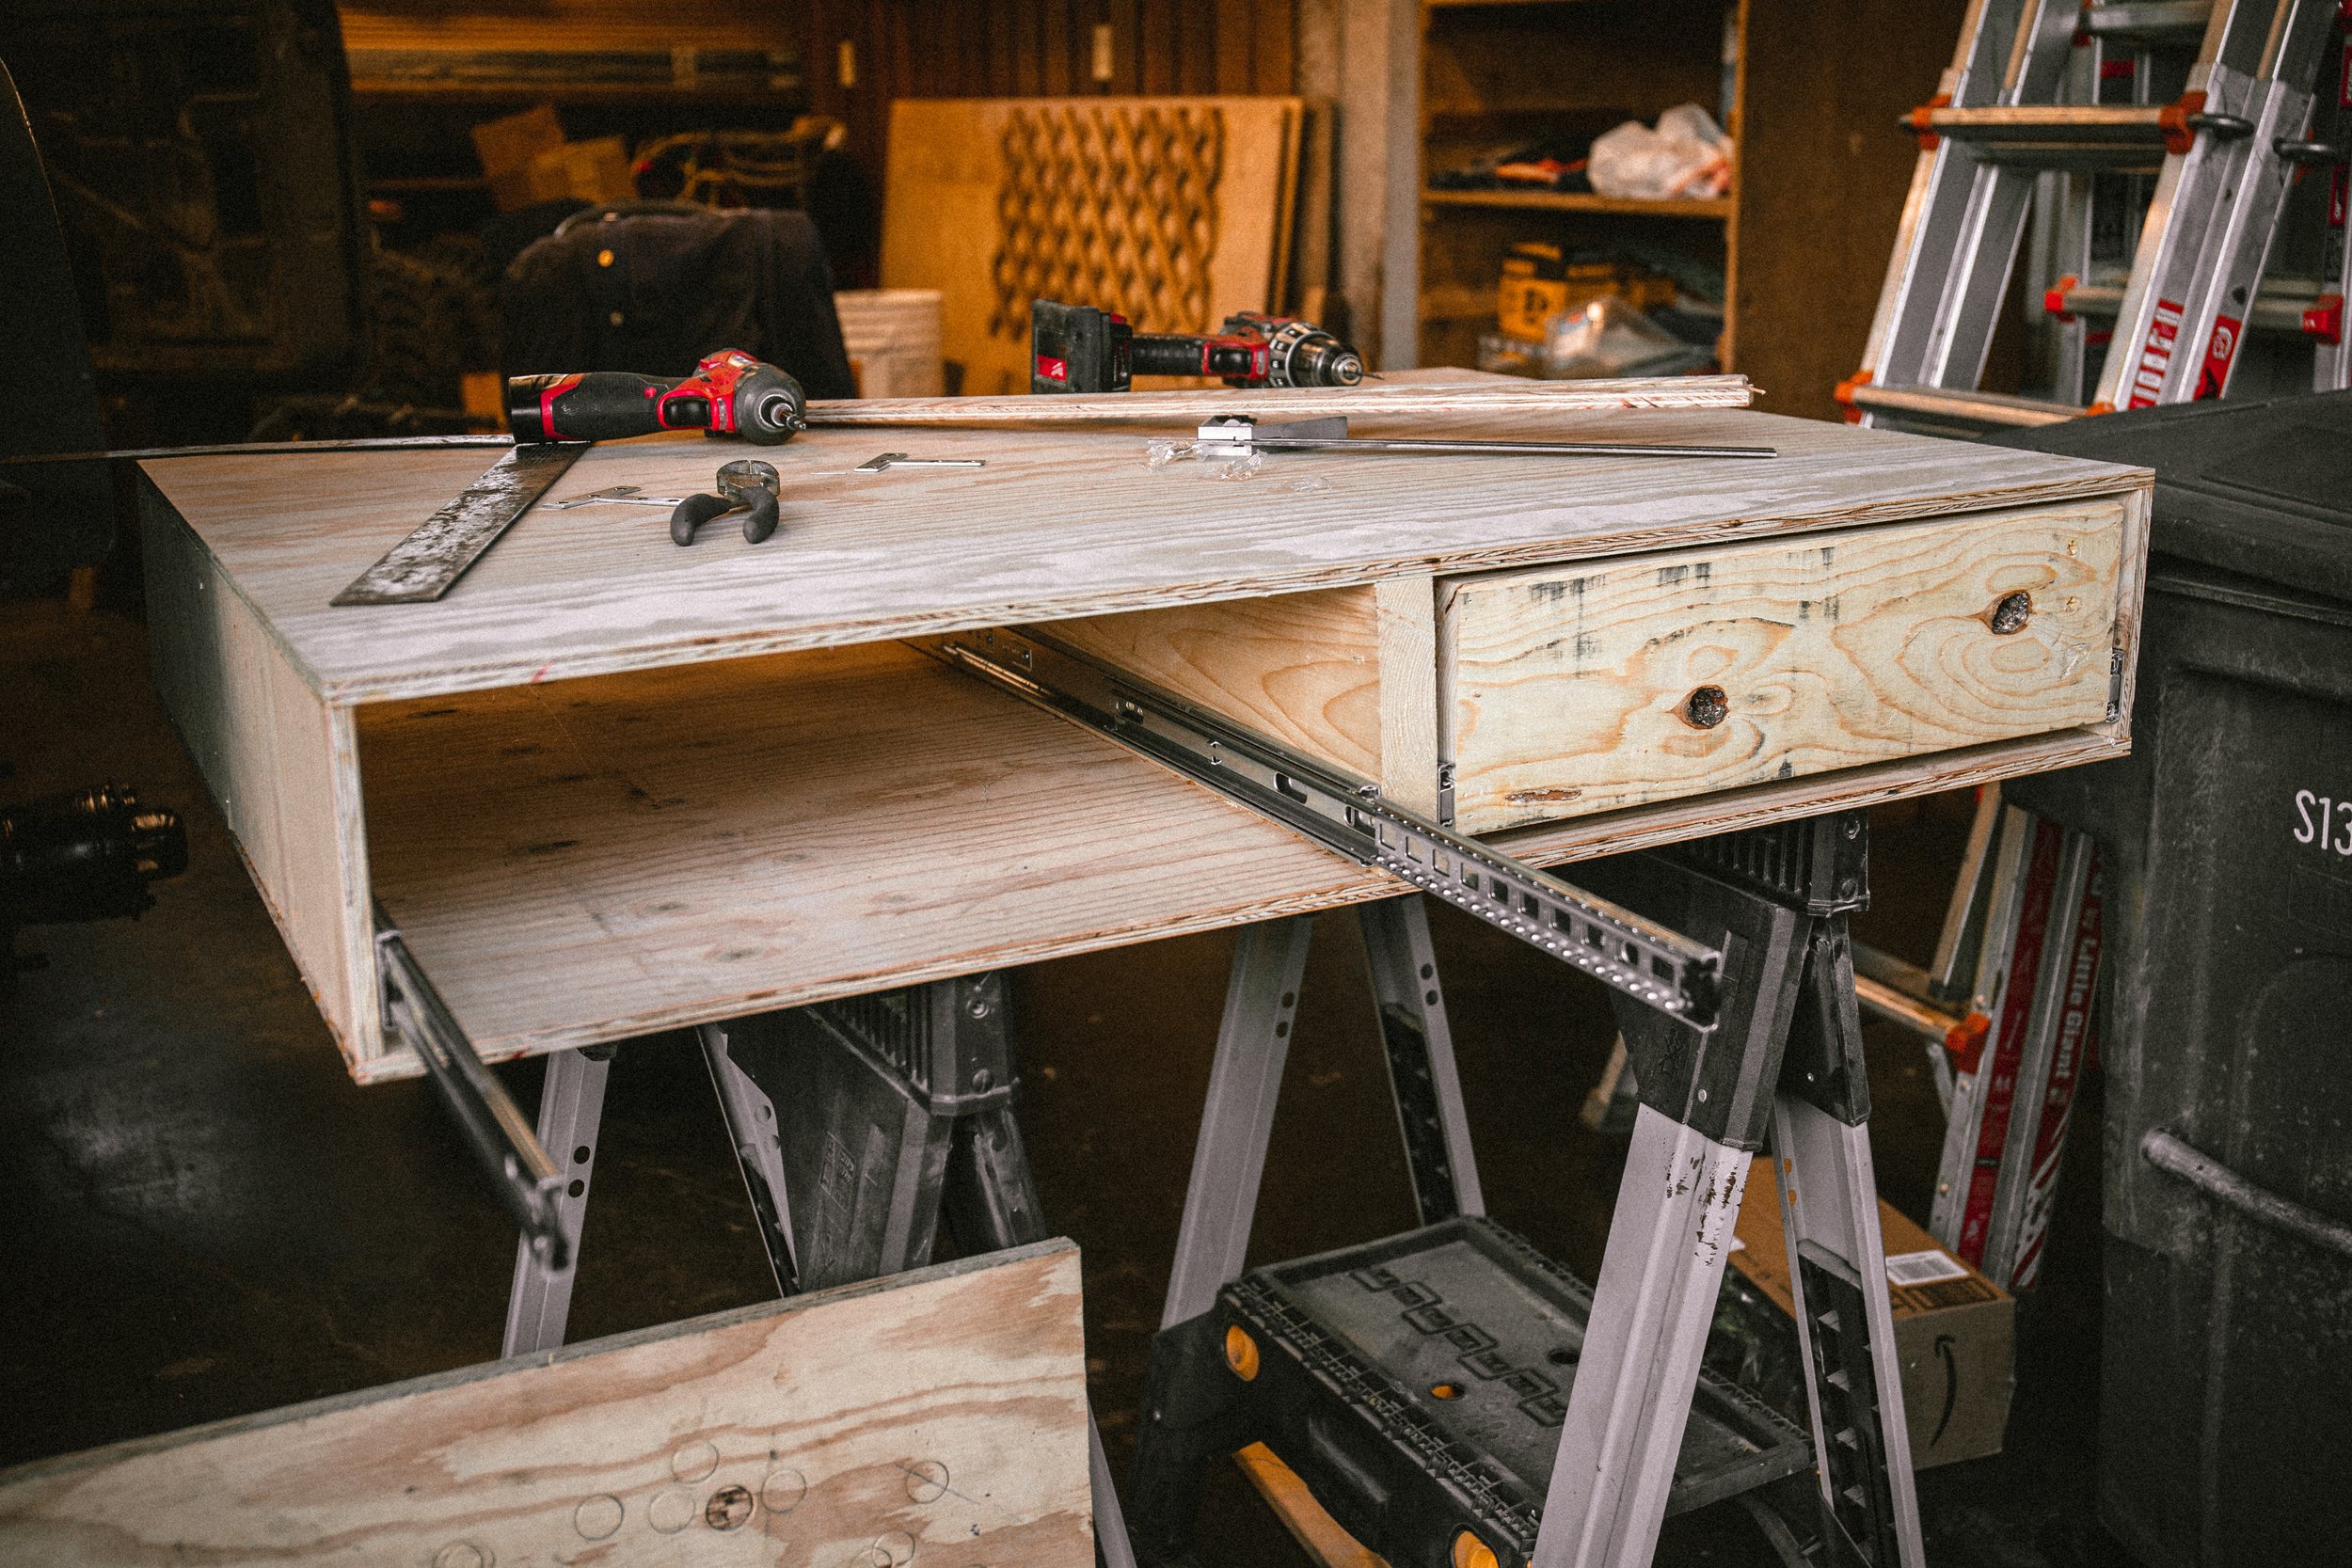
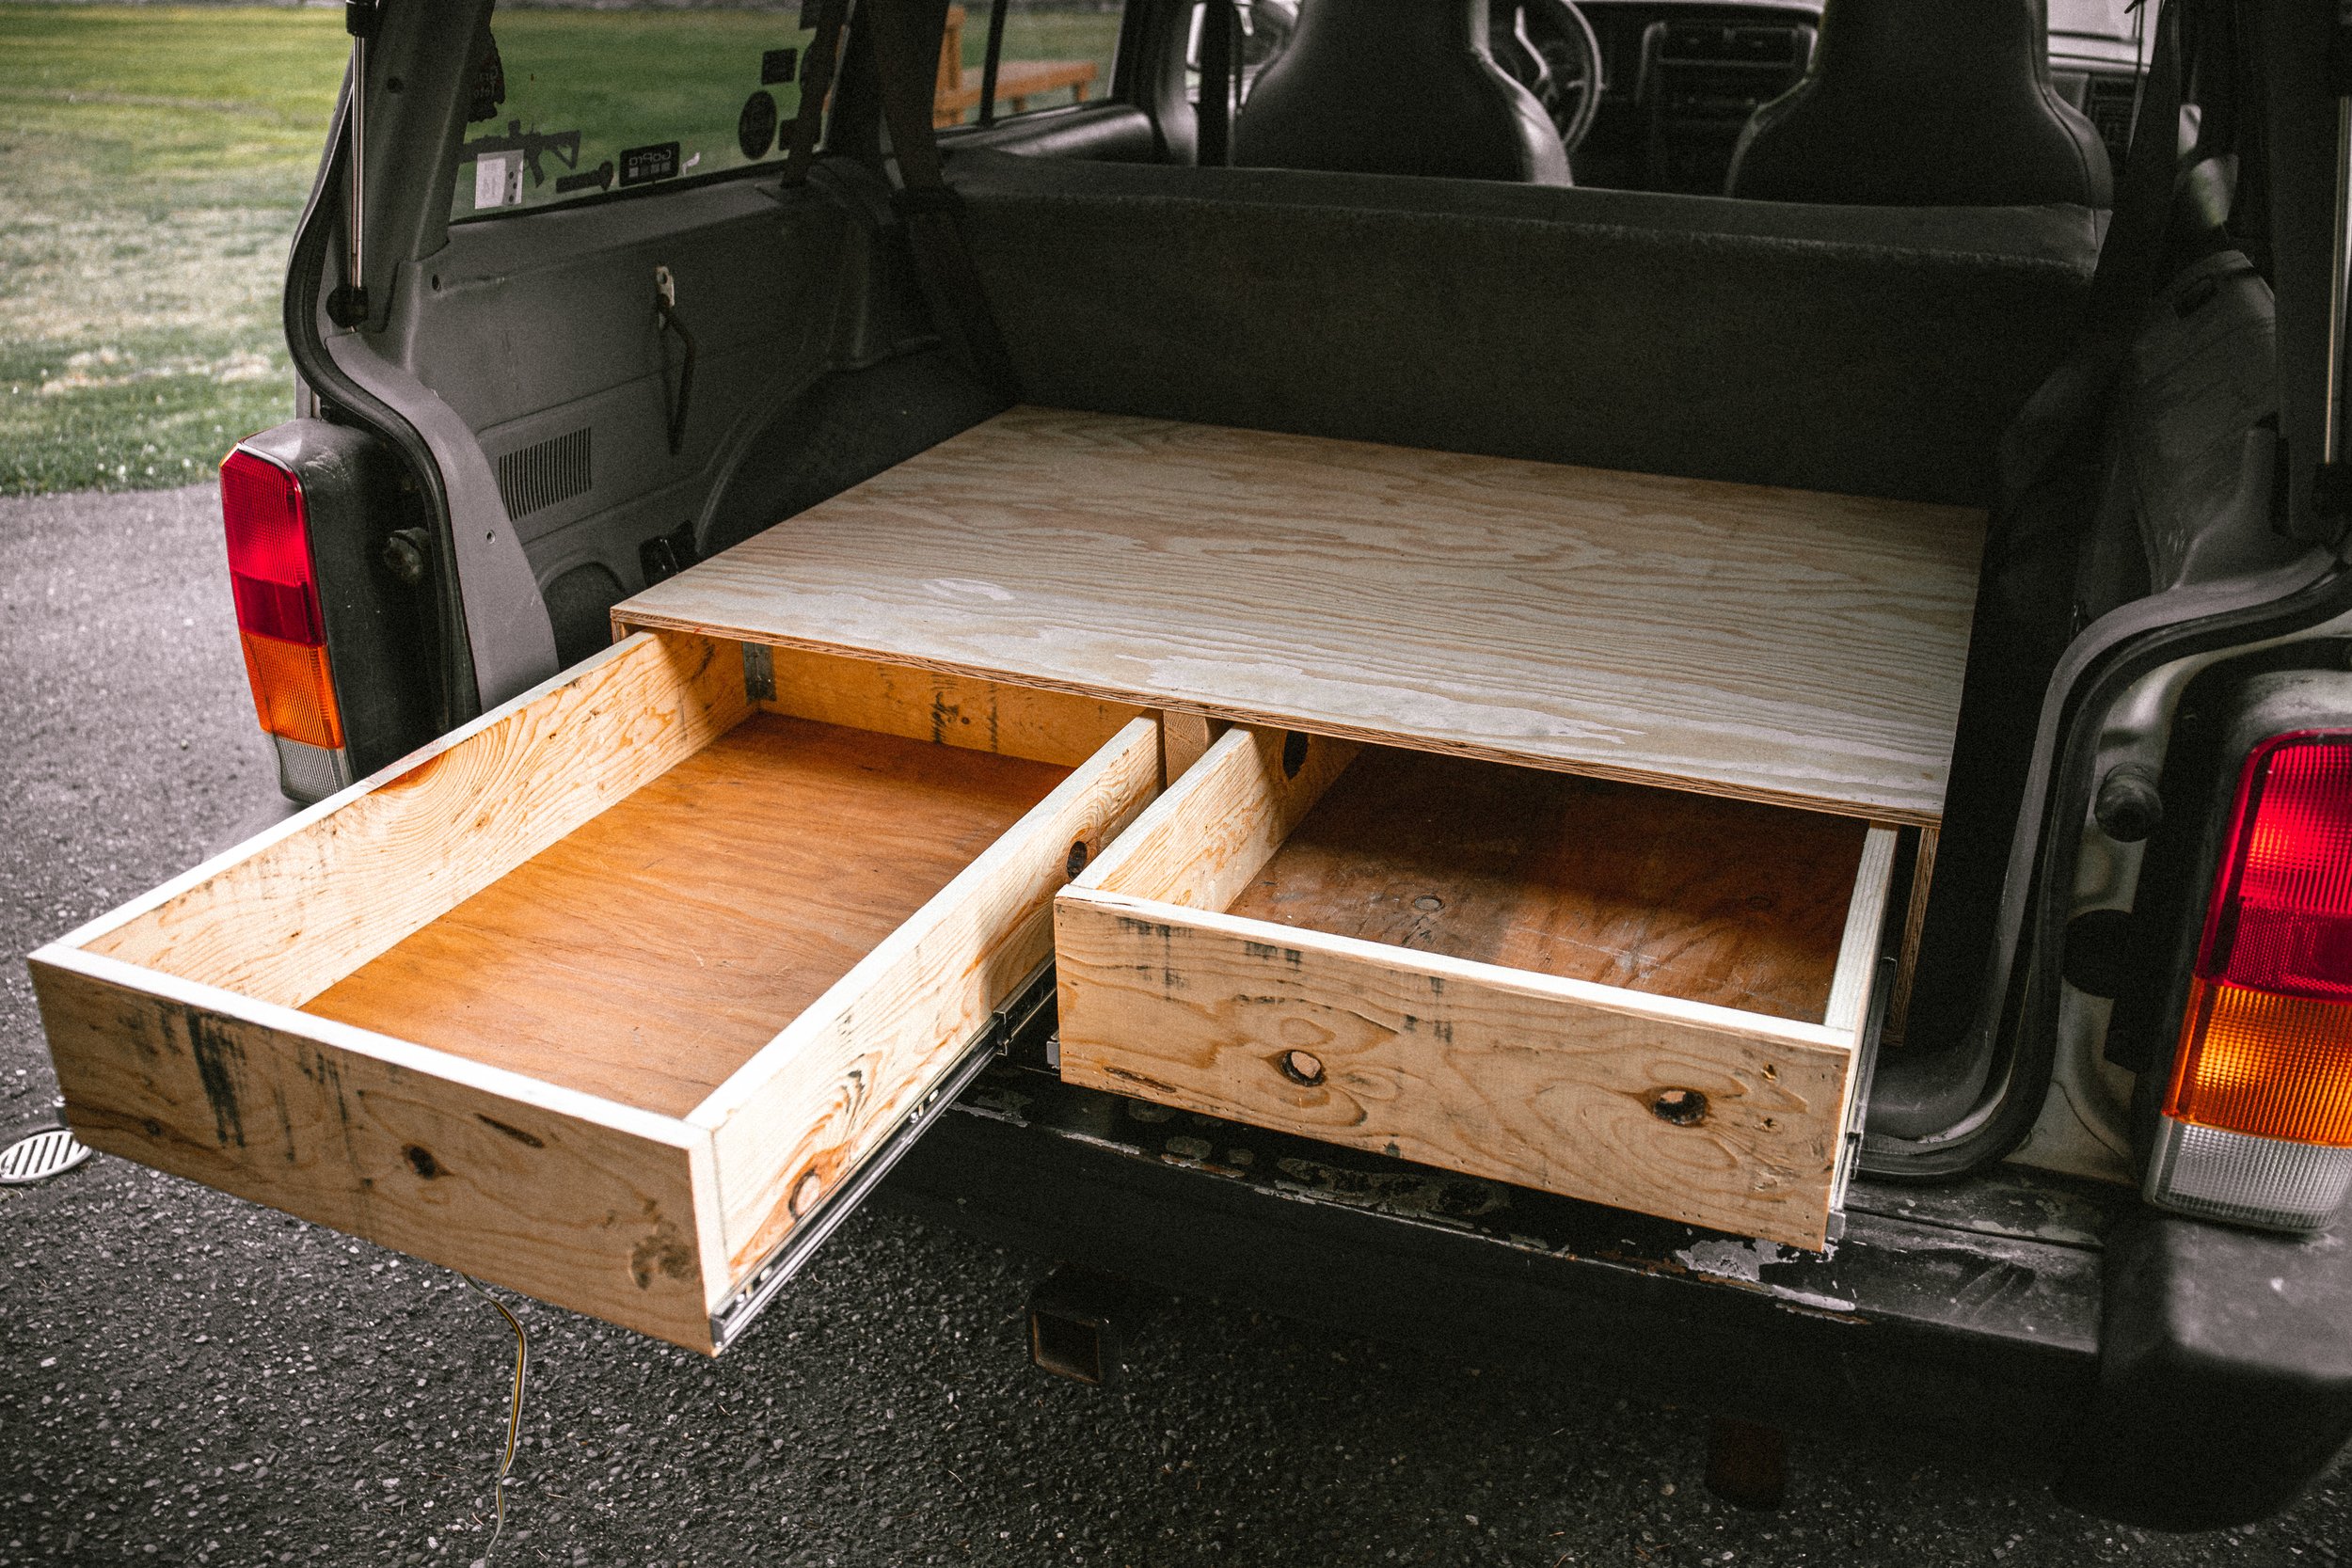
After I installed the slides into both drawer openings, I then mounted the drawers themselves, making sure everything was nice and even.

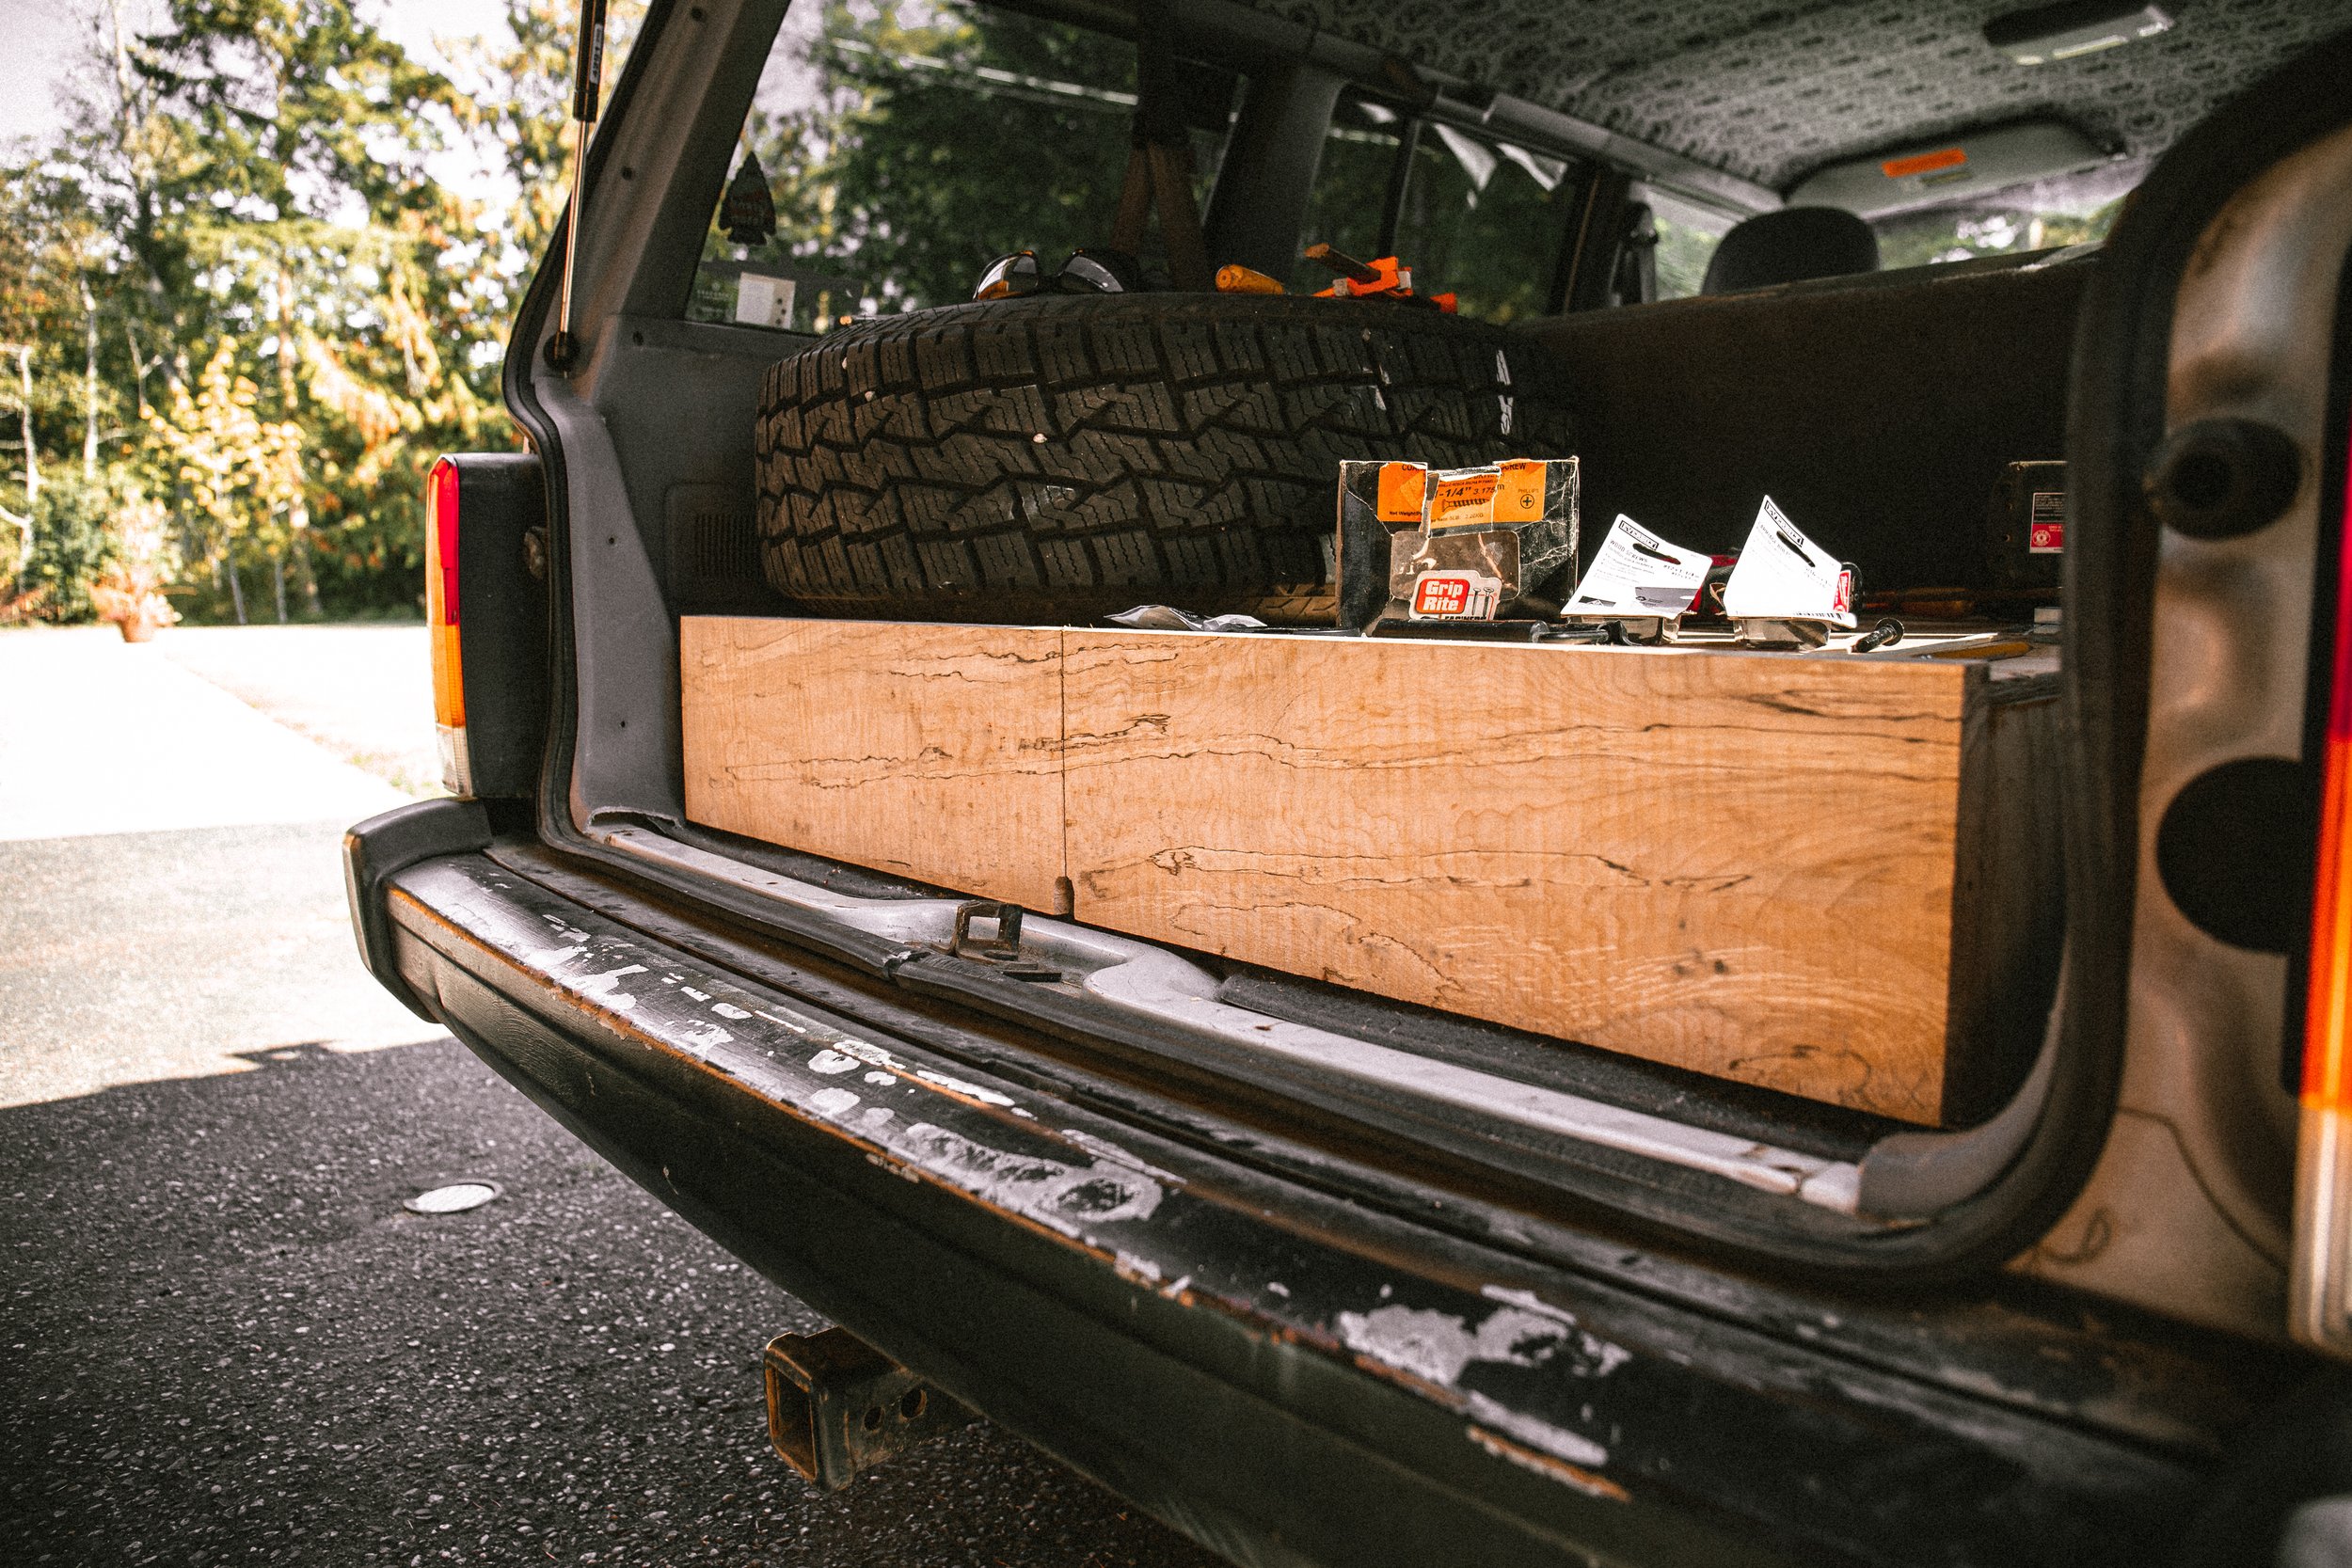
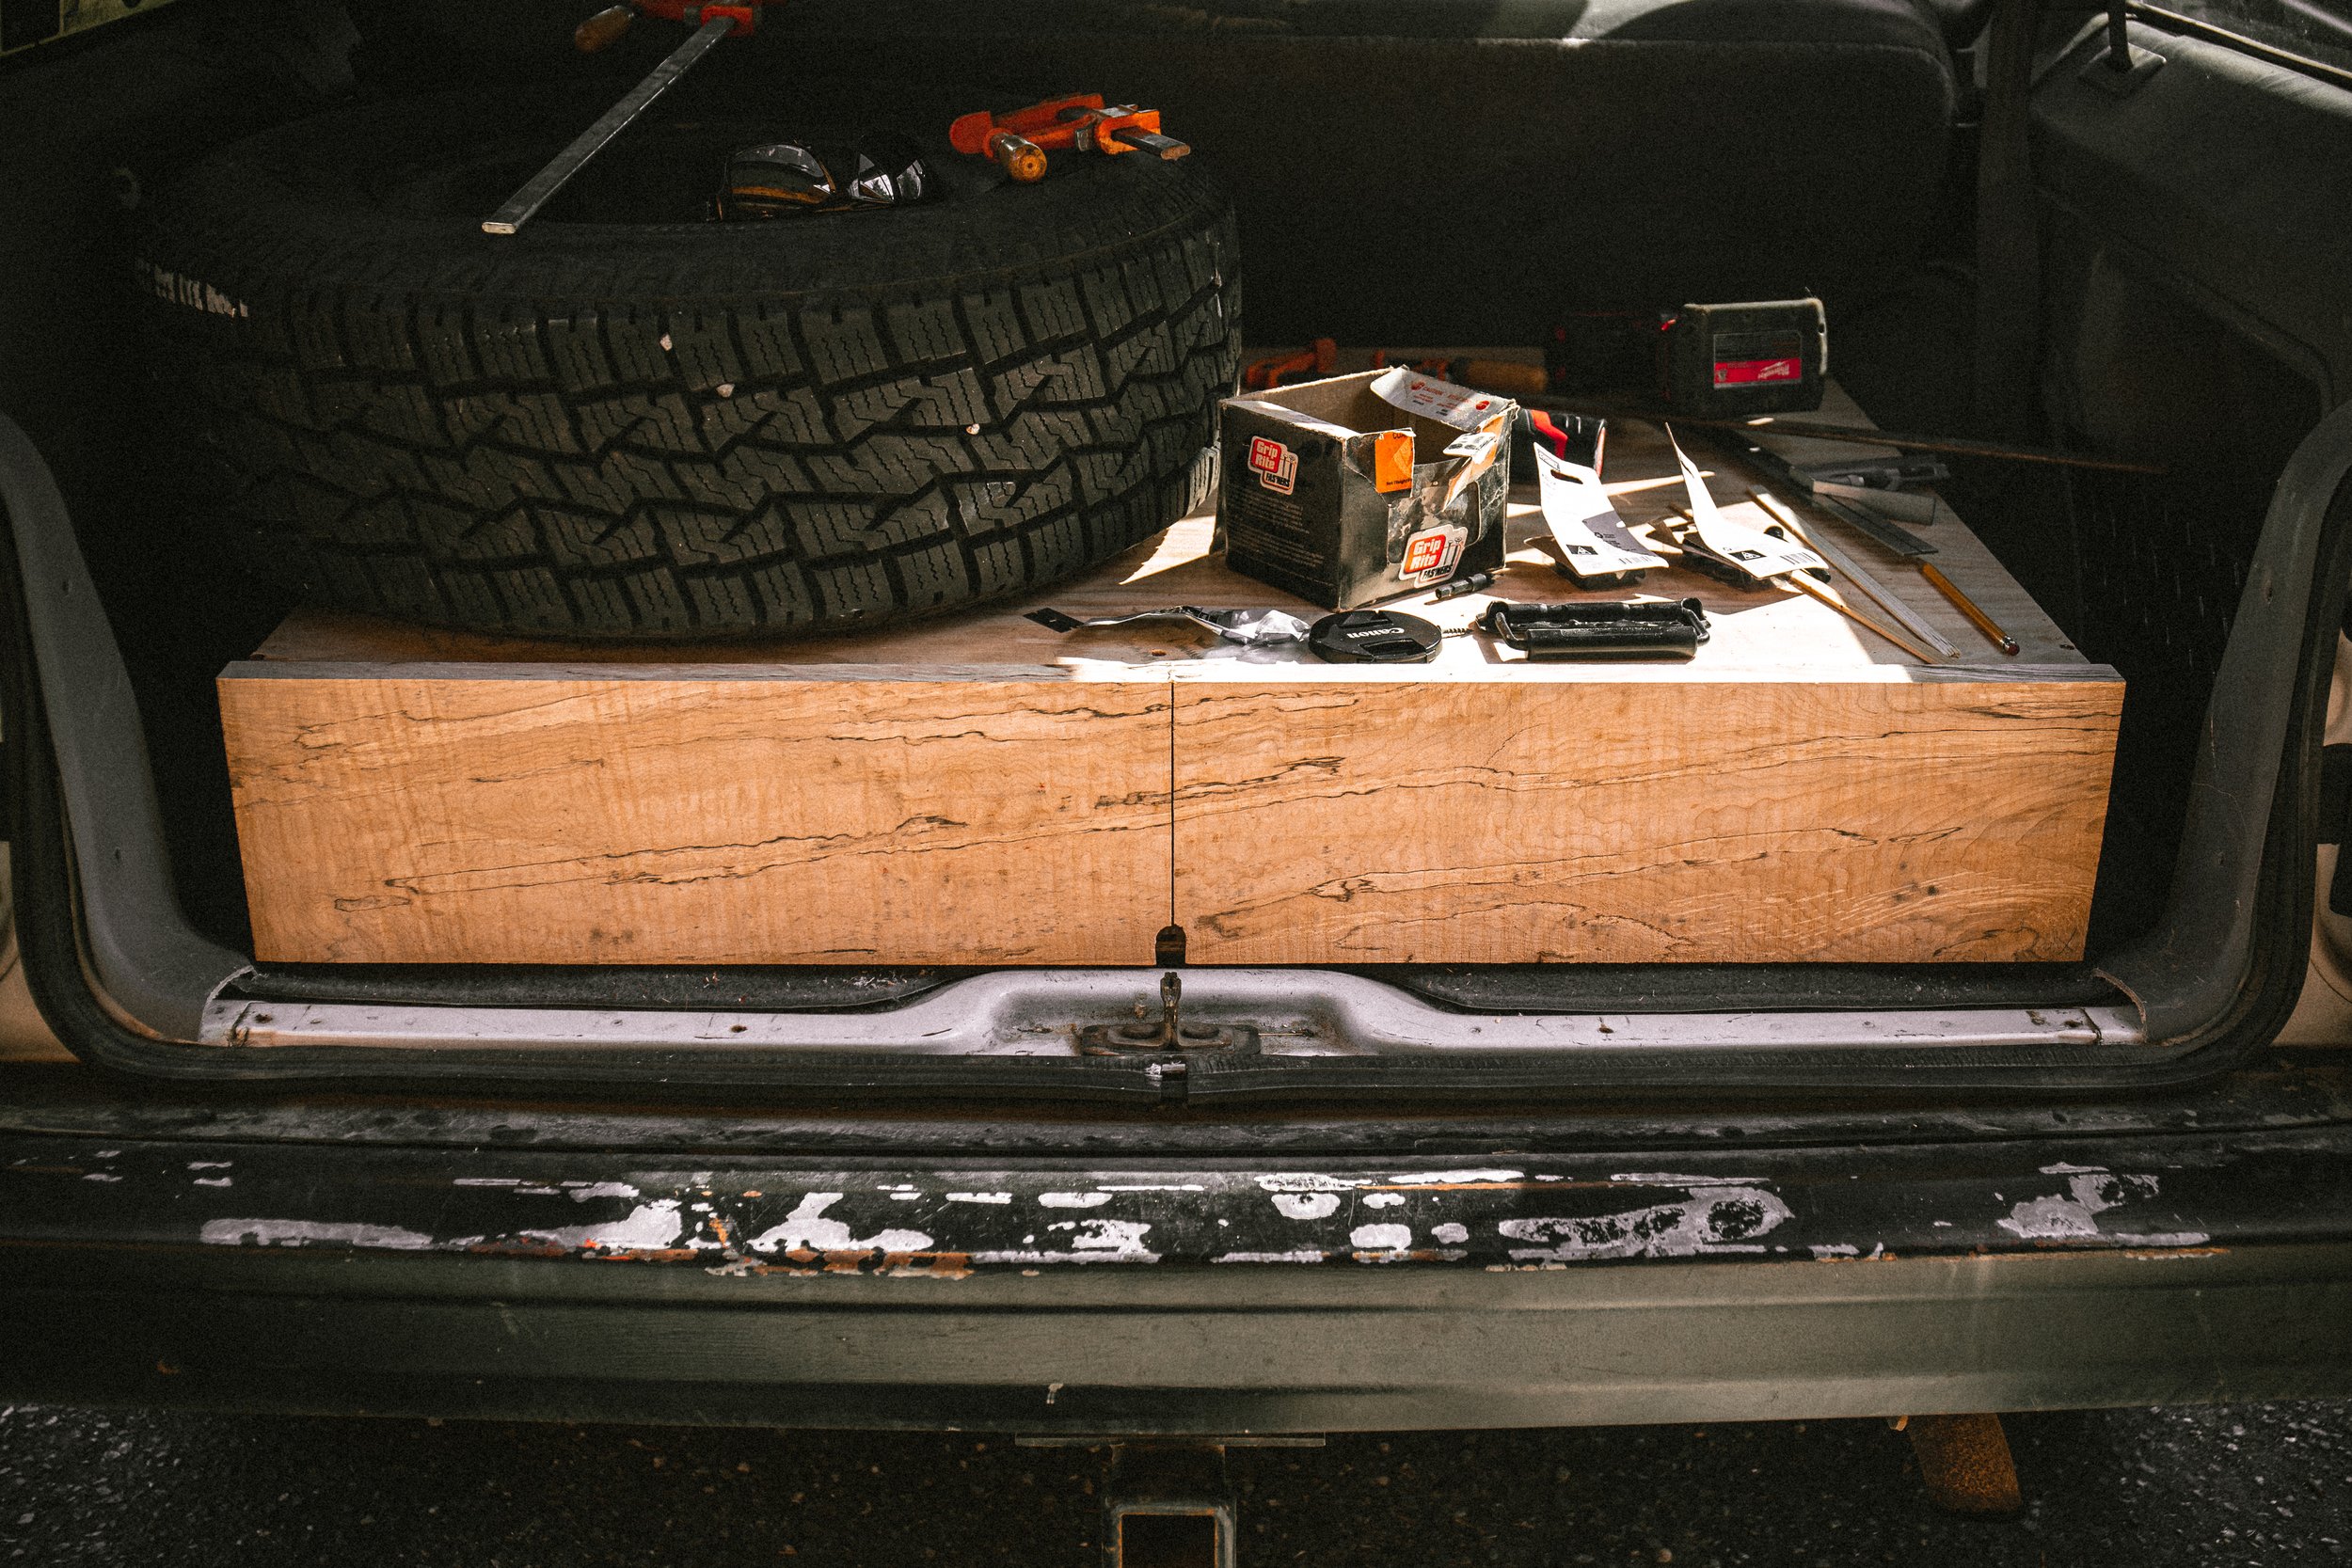
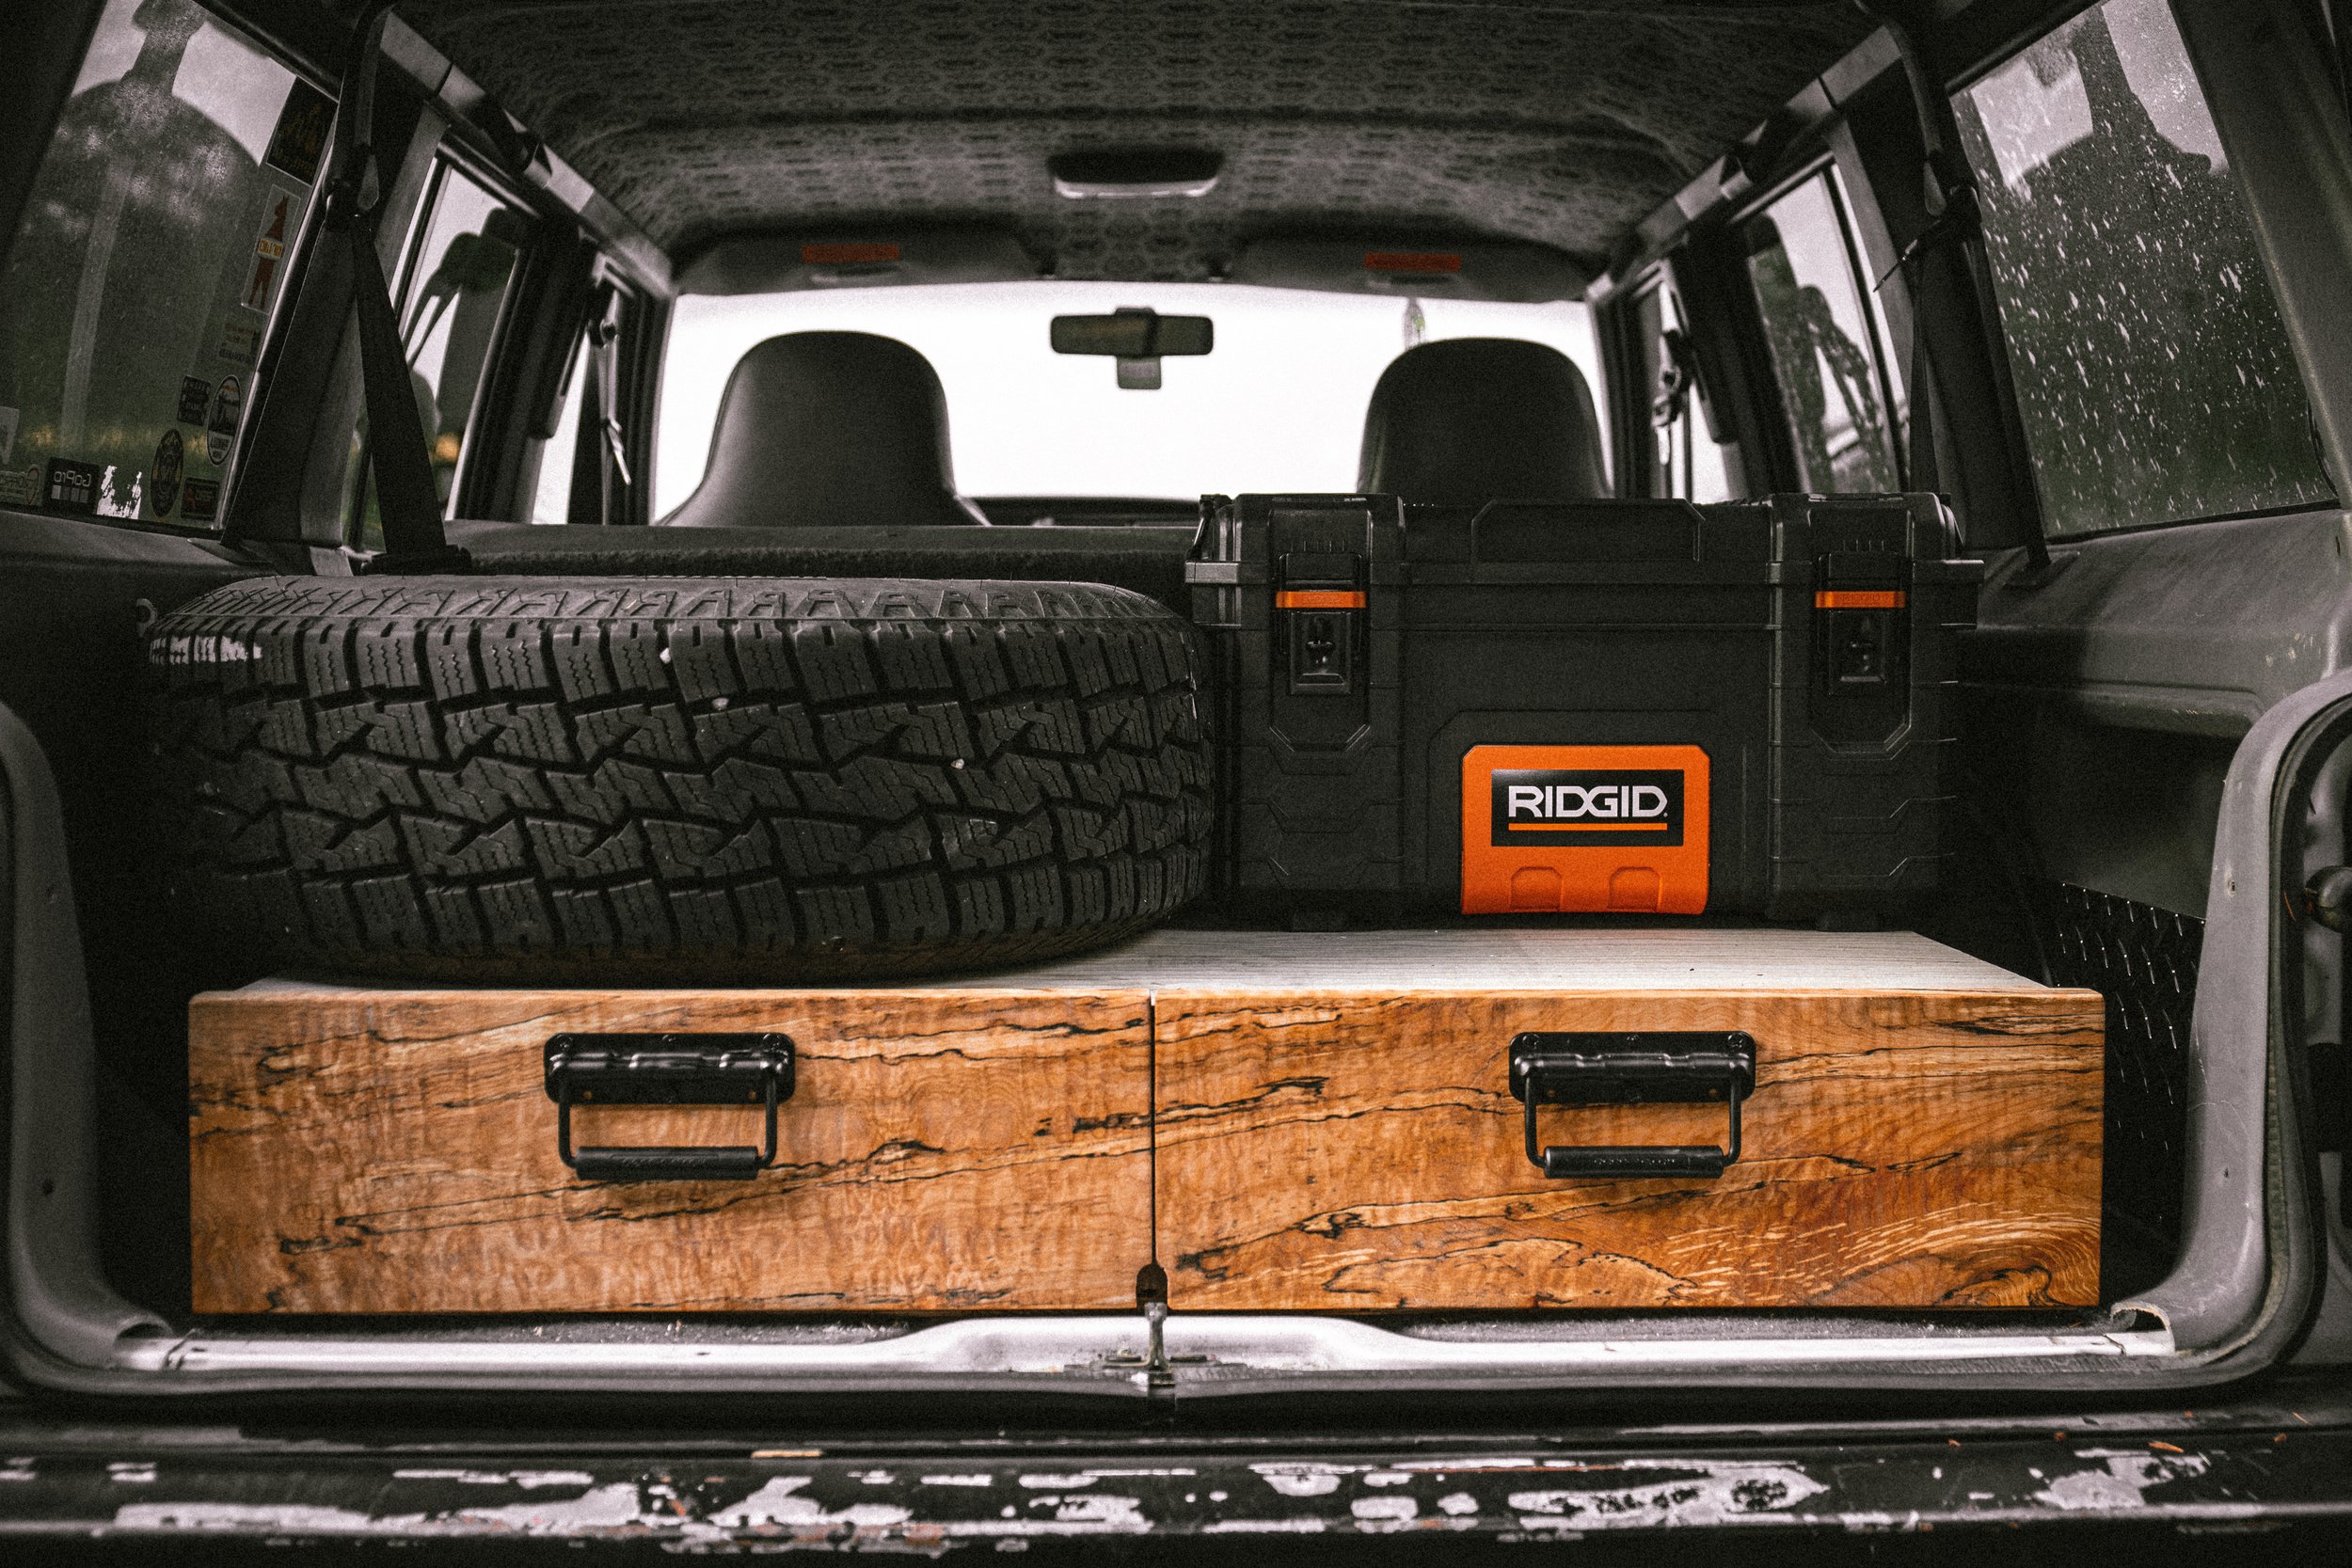
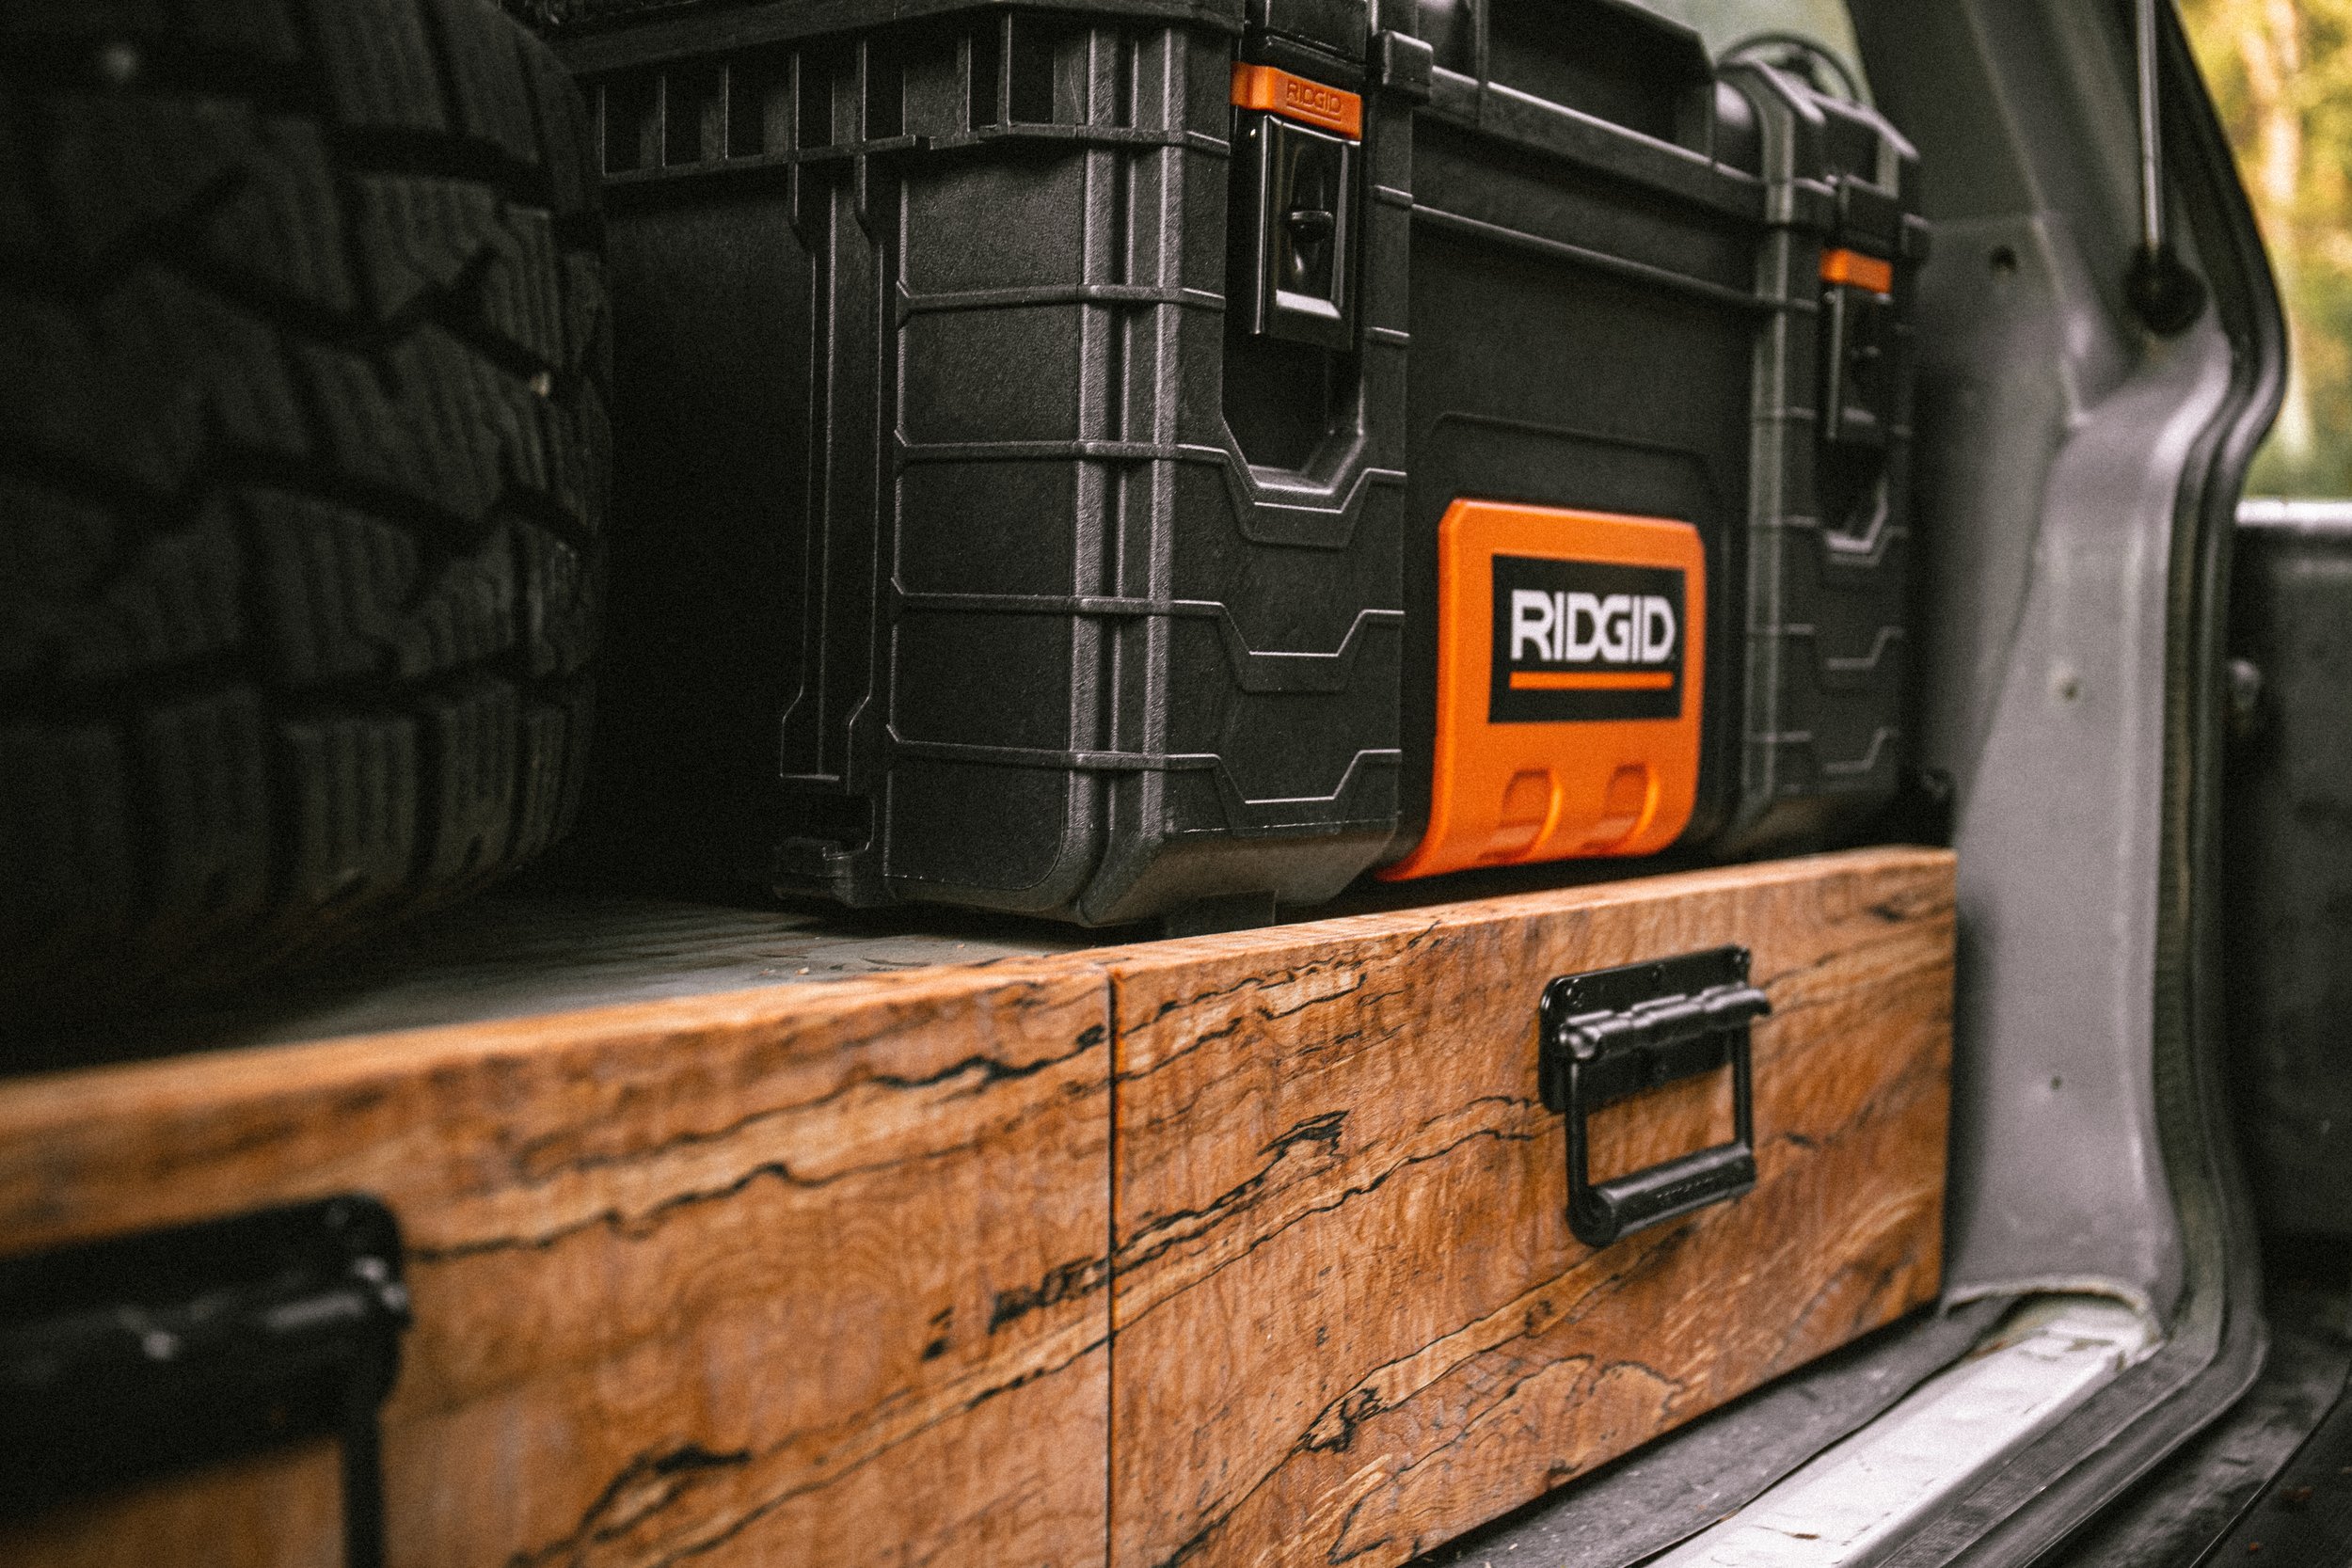
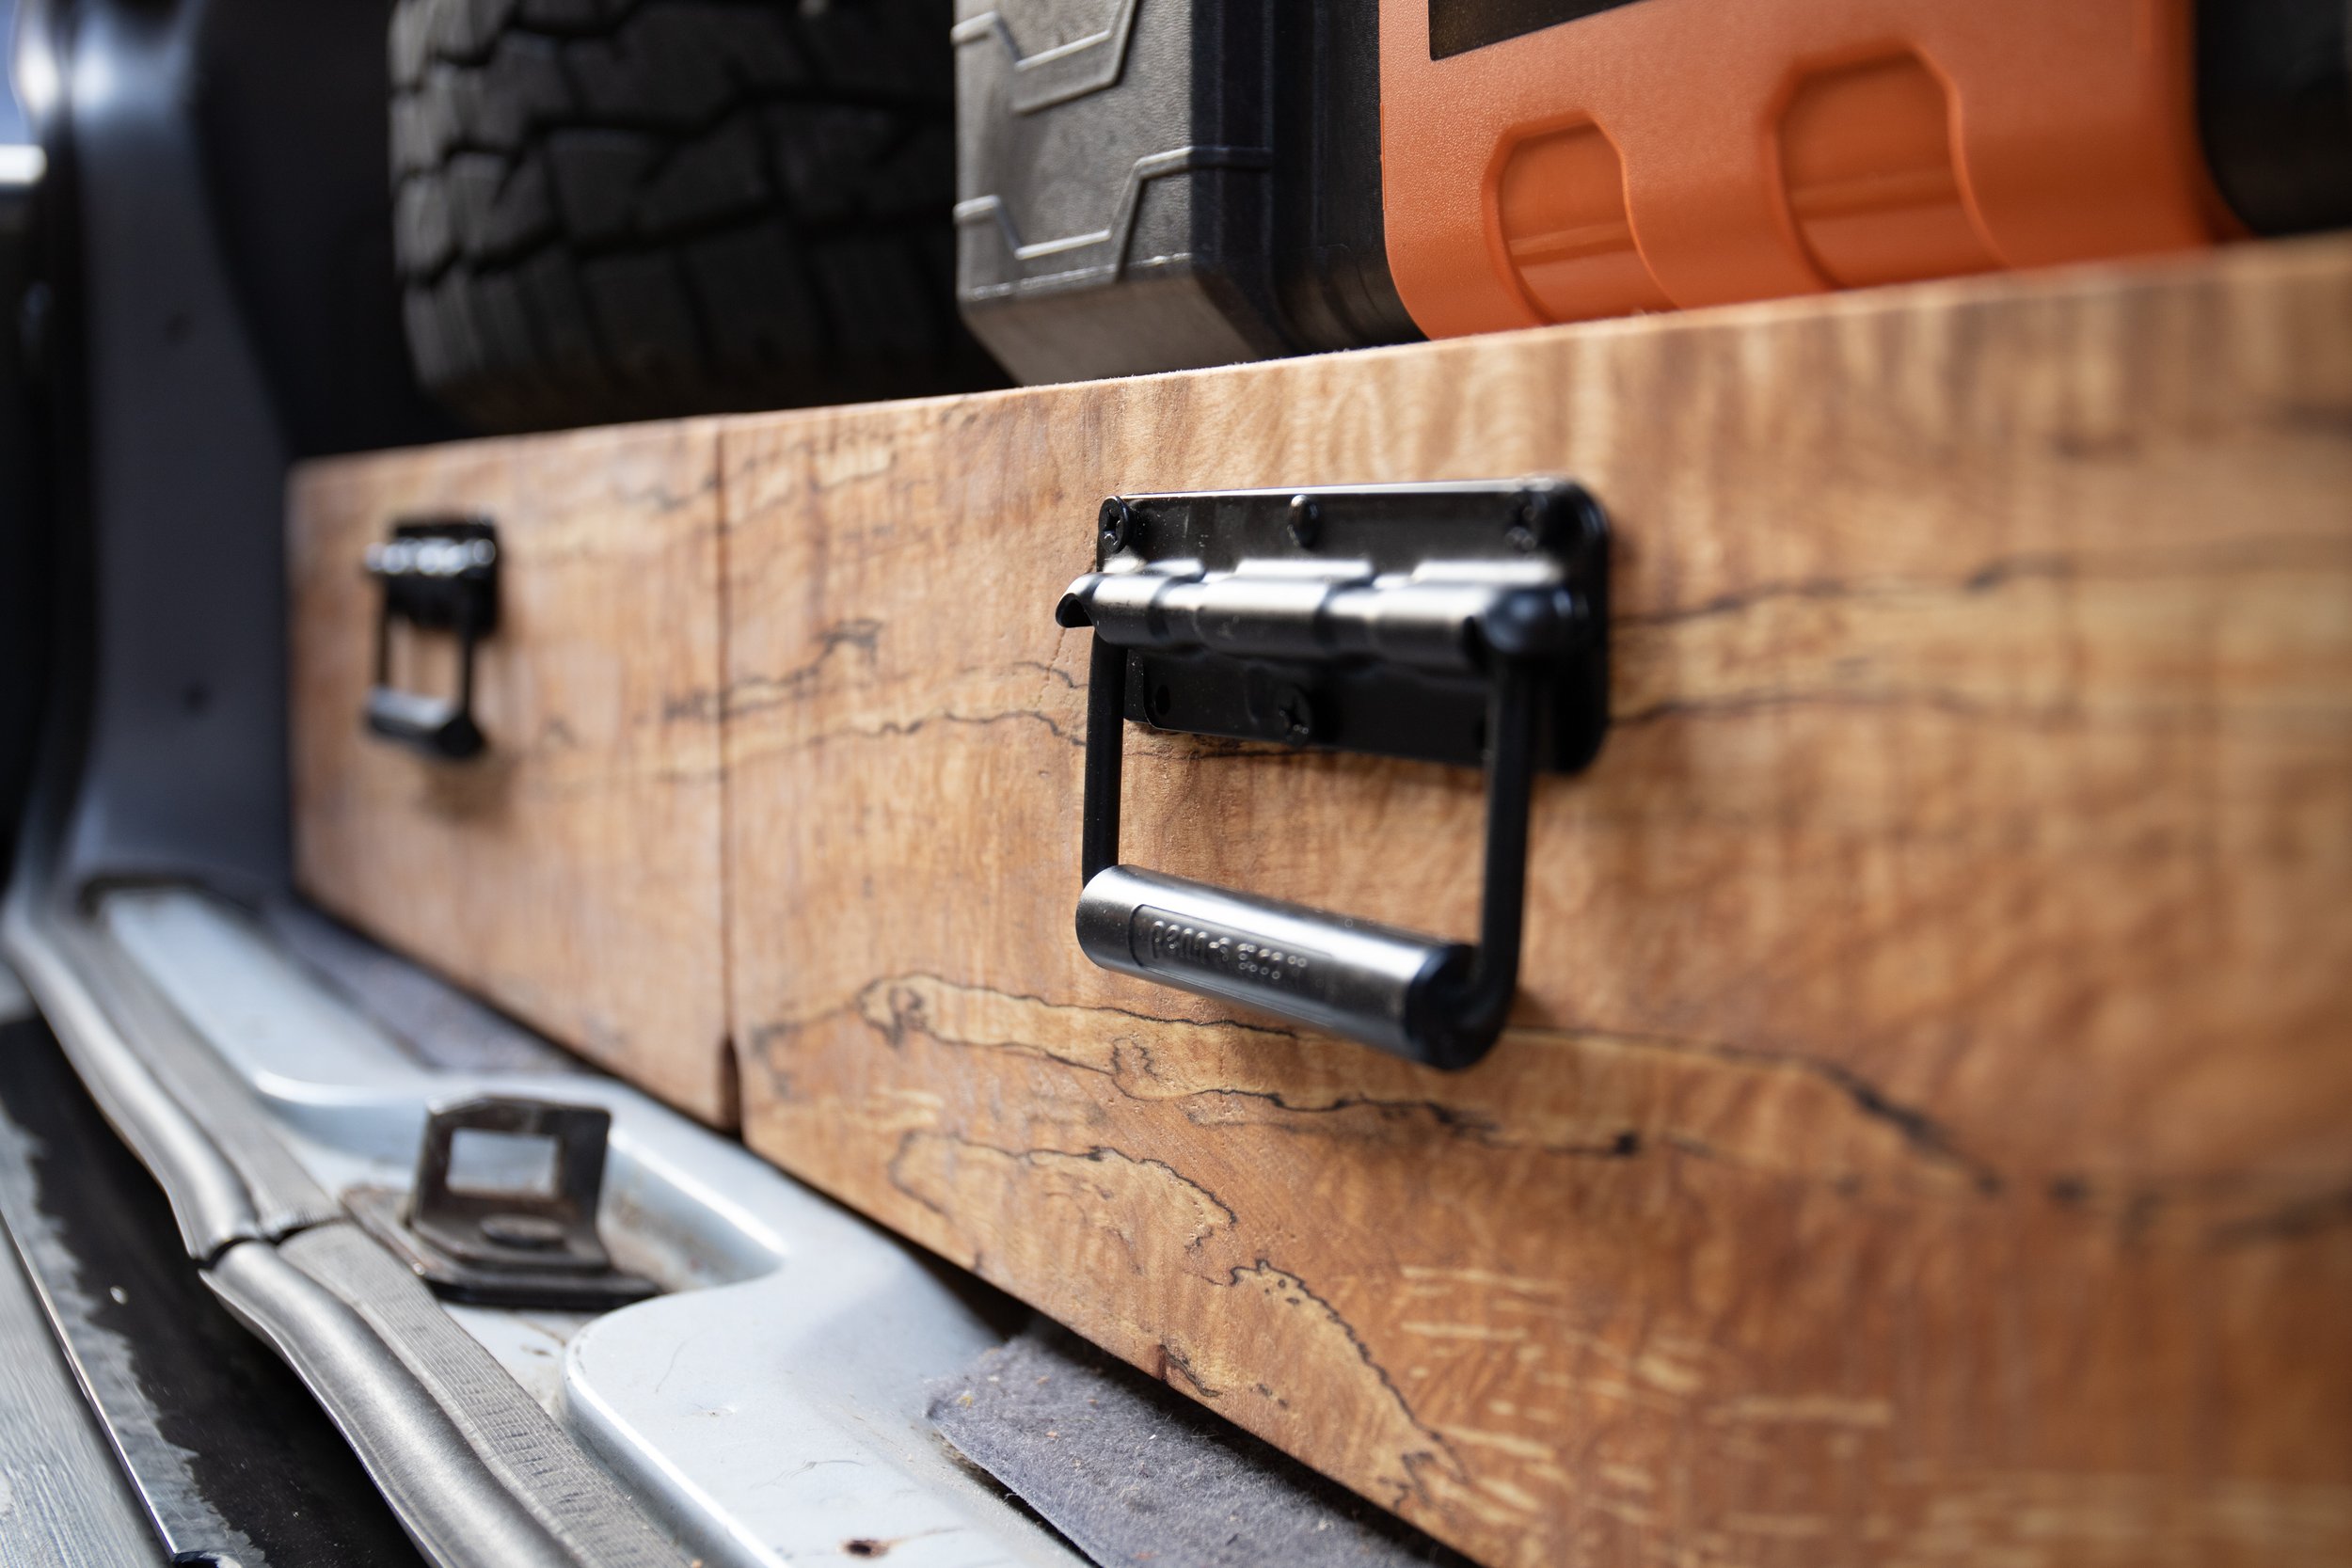
Now I could’ve left the face of the drawers plain and blah, but I had a vision of greatness in my mind. So I decided to grab a piece of 1” live edge maple I’ve had sitting around and make that the face of my drawers. I started out with one solid piece so I could clamp it to both drawers at the same time and mark out where I wanted to make my cut. As my OCD brain kicked in, I really wanted to make an almost seamless, flush fit look to the drawer face. So, with one cut down the middle and a small notch to fit around the rear hatch striker, I went to work. After the cut and notch, I remounted the two faces, lining them up with a nice tight tolerance and started working on the mounting holes. I drilled from the inside of the drawer into the back of the maple as to not have any mounting hardware visible. Luckily, it all went the way I was hoping and I could now move onto mounting the handles to the drawer faces.
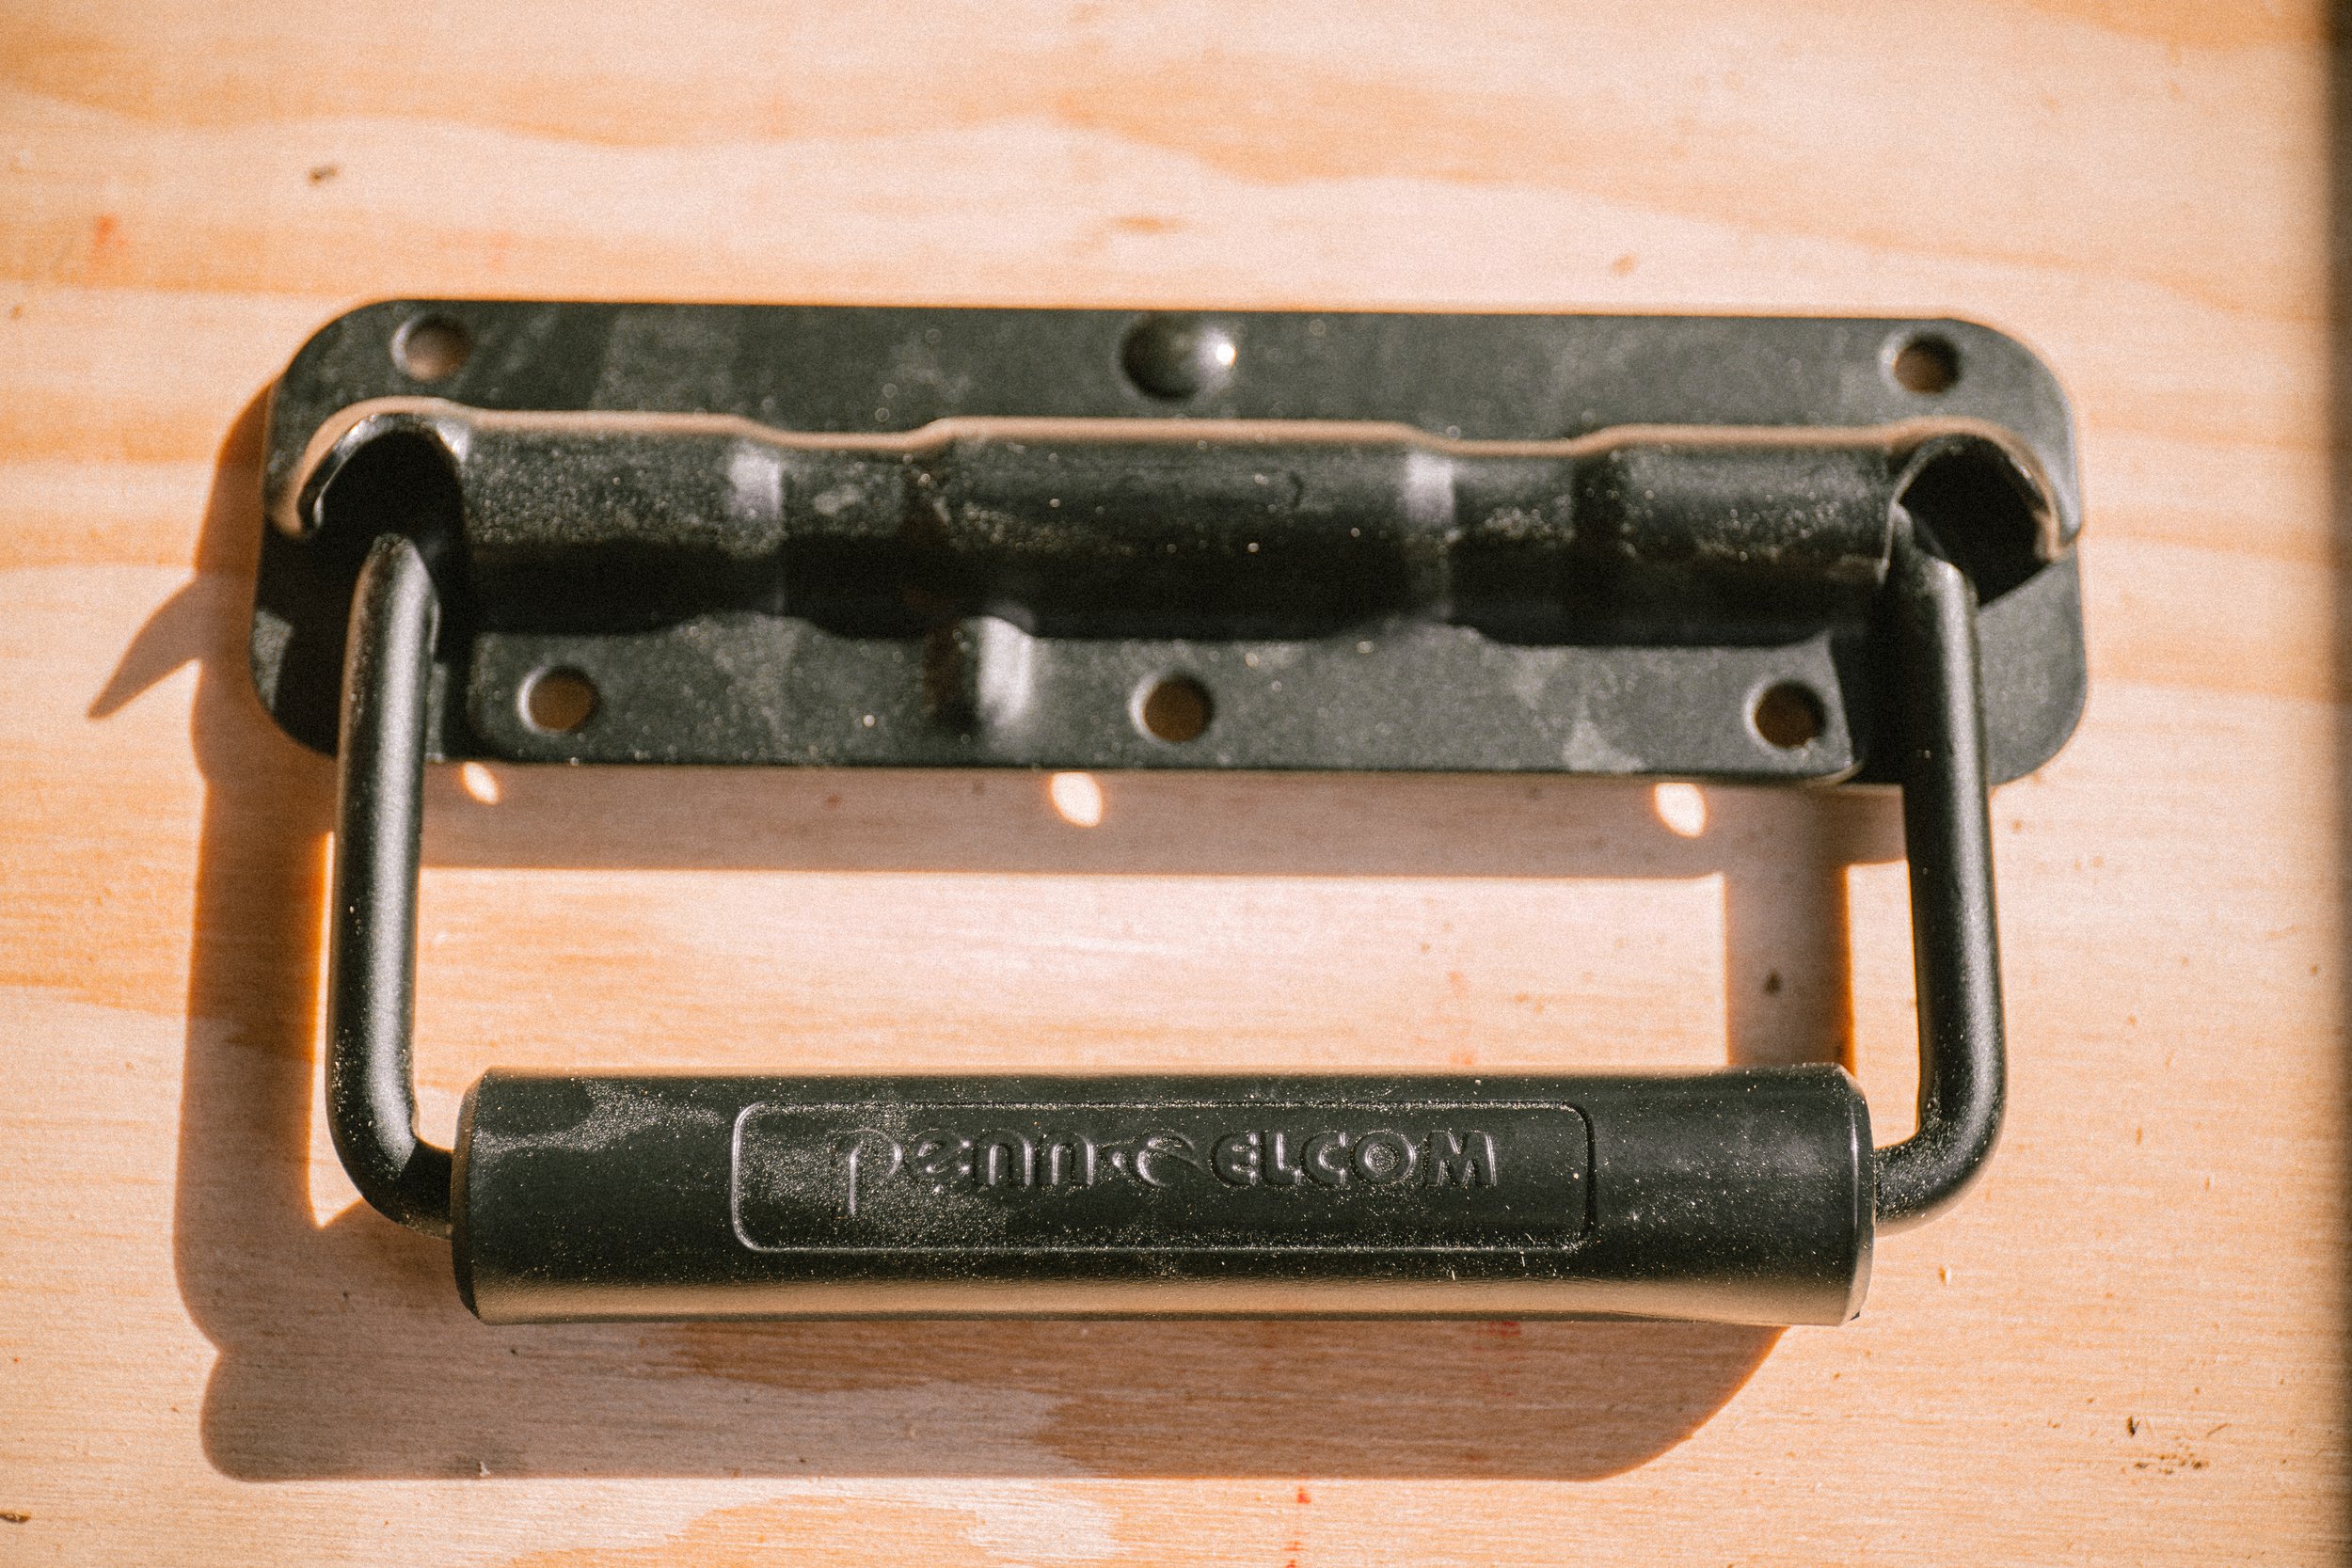
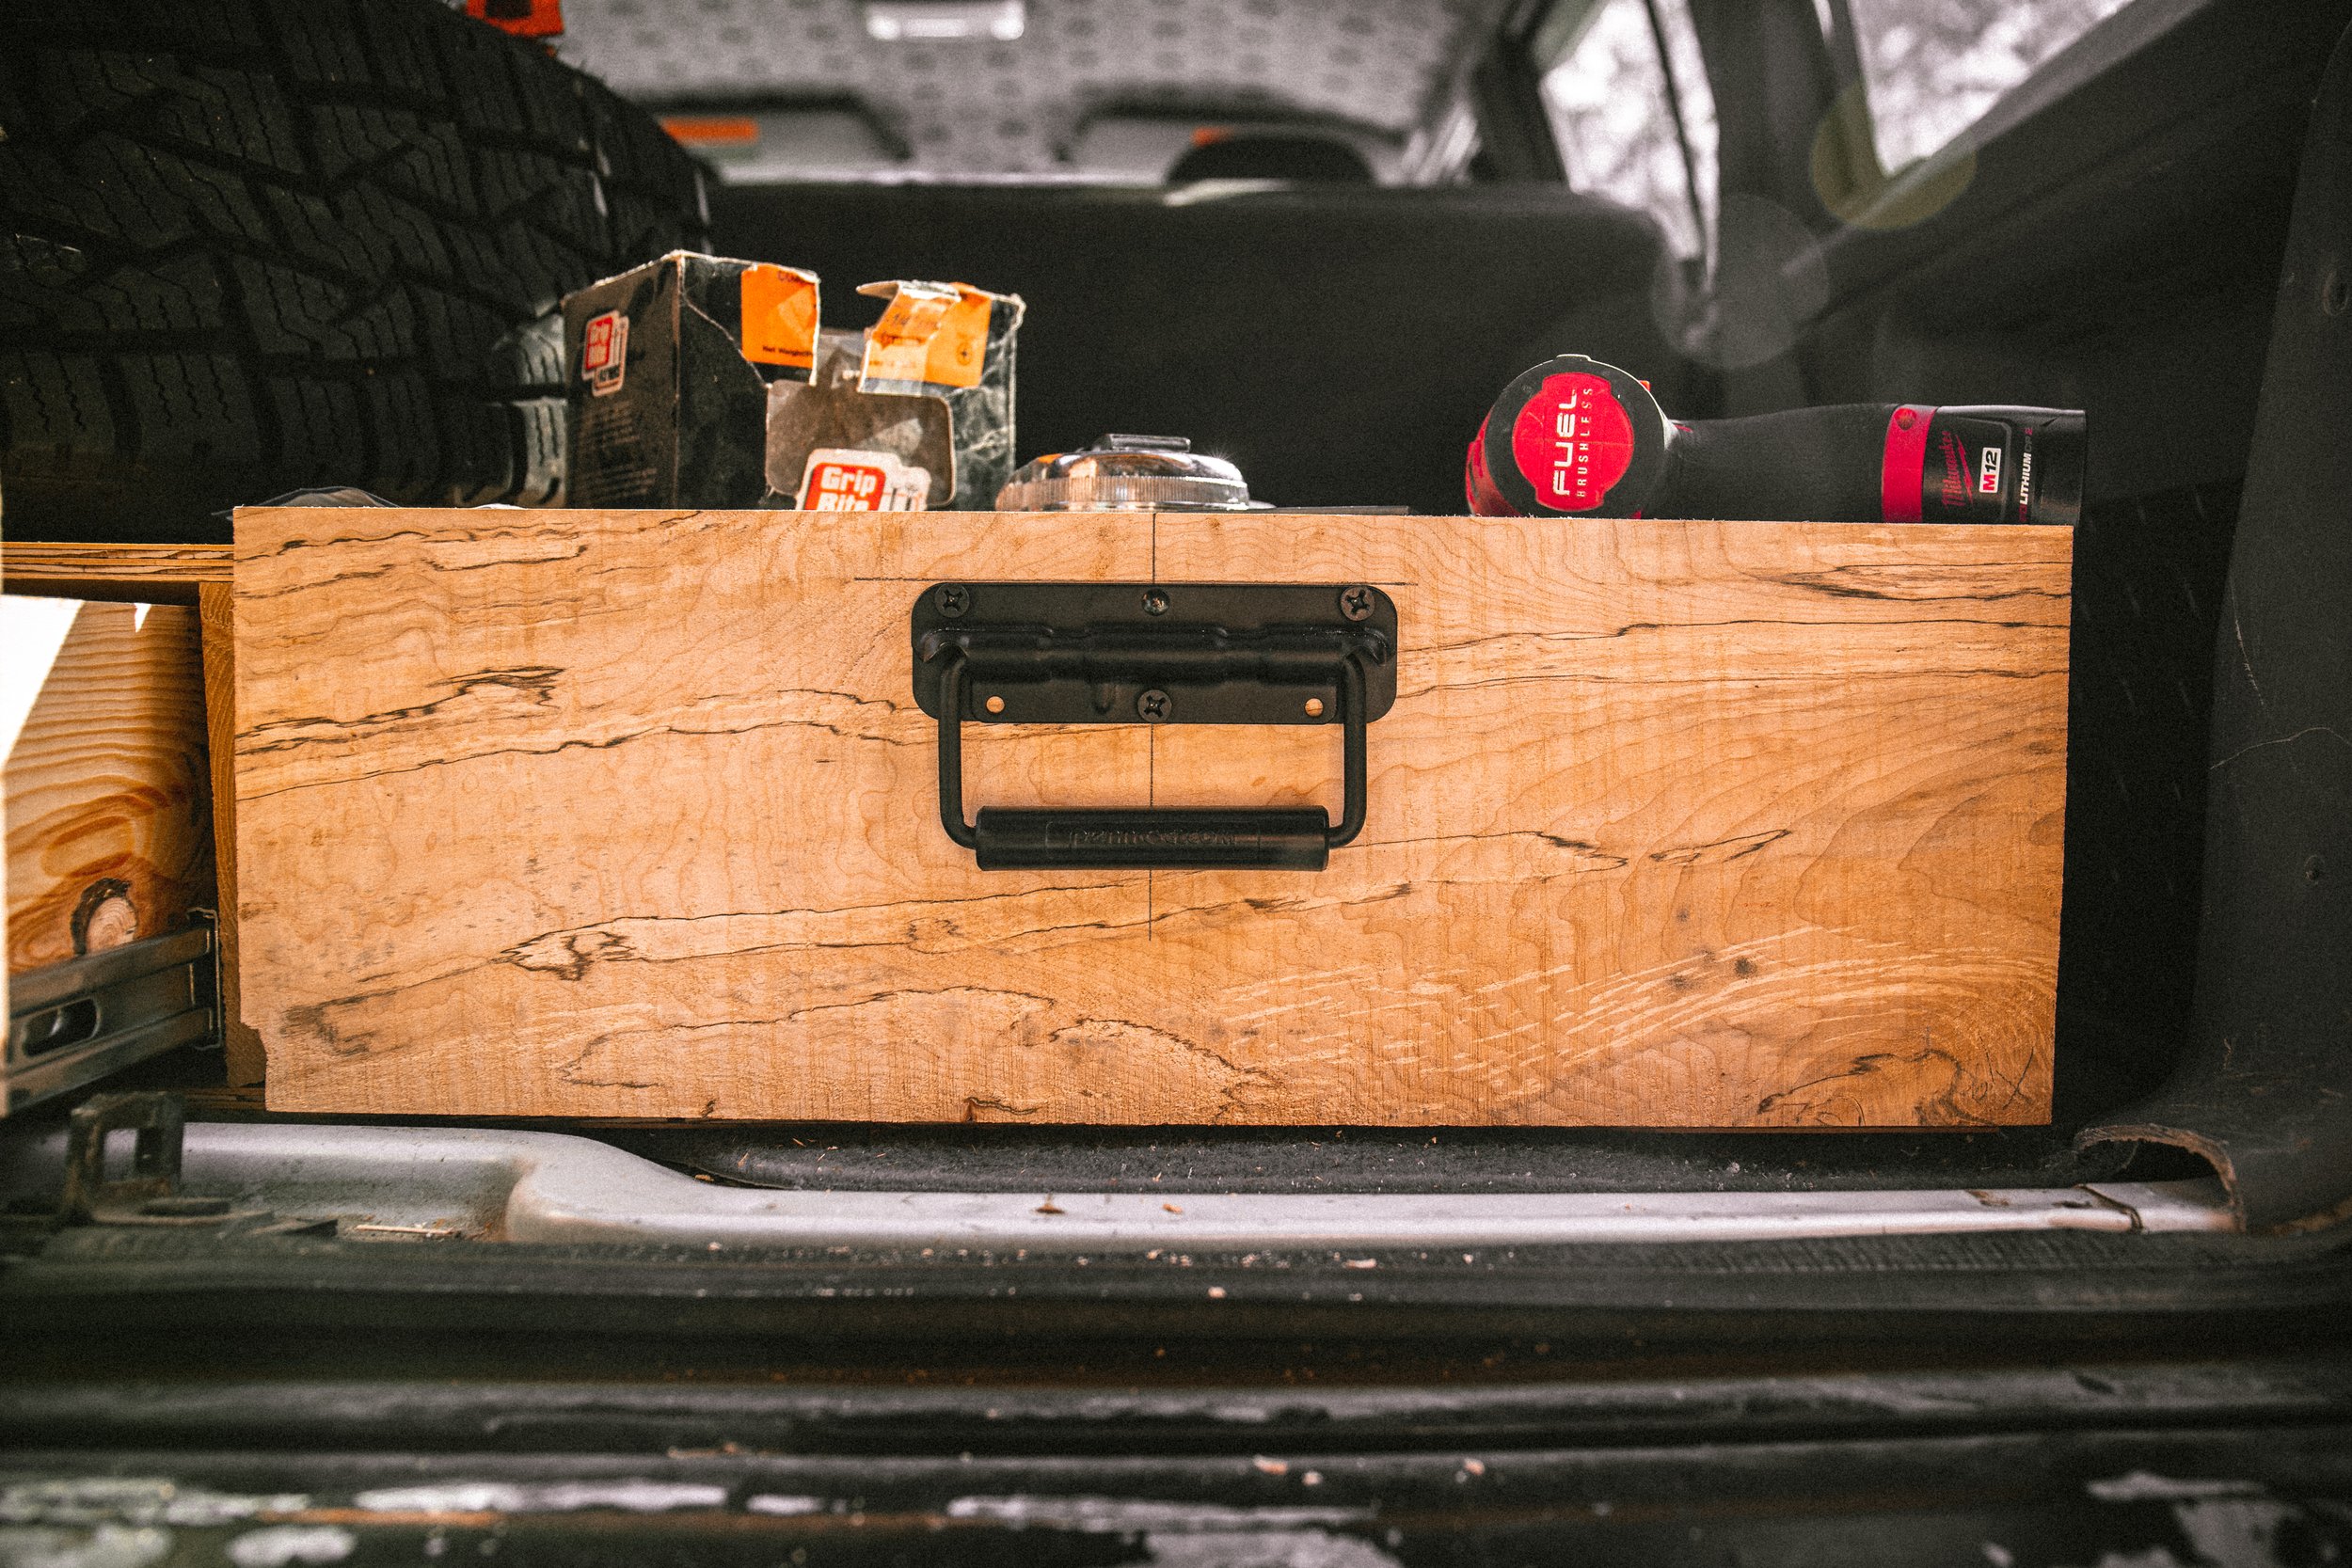
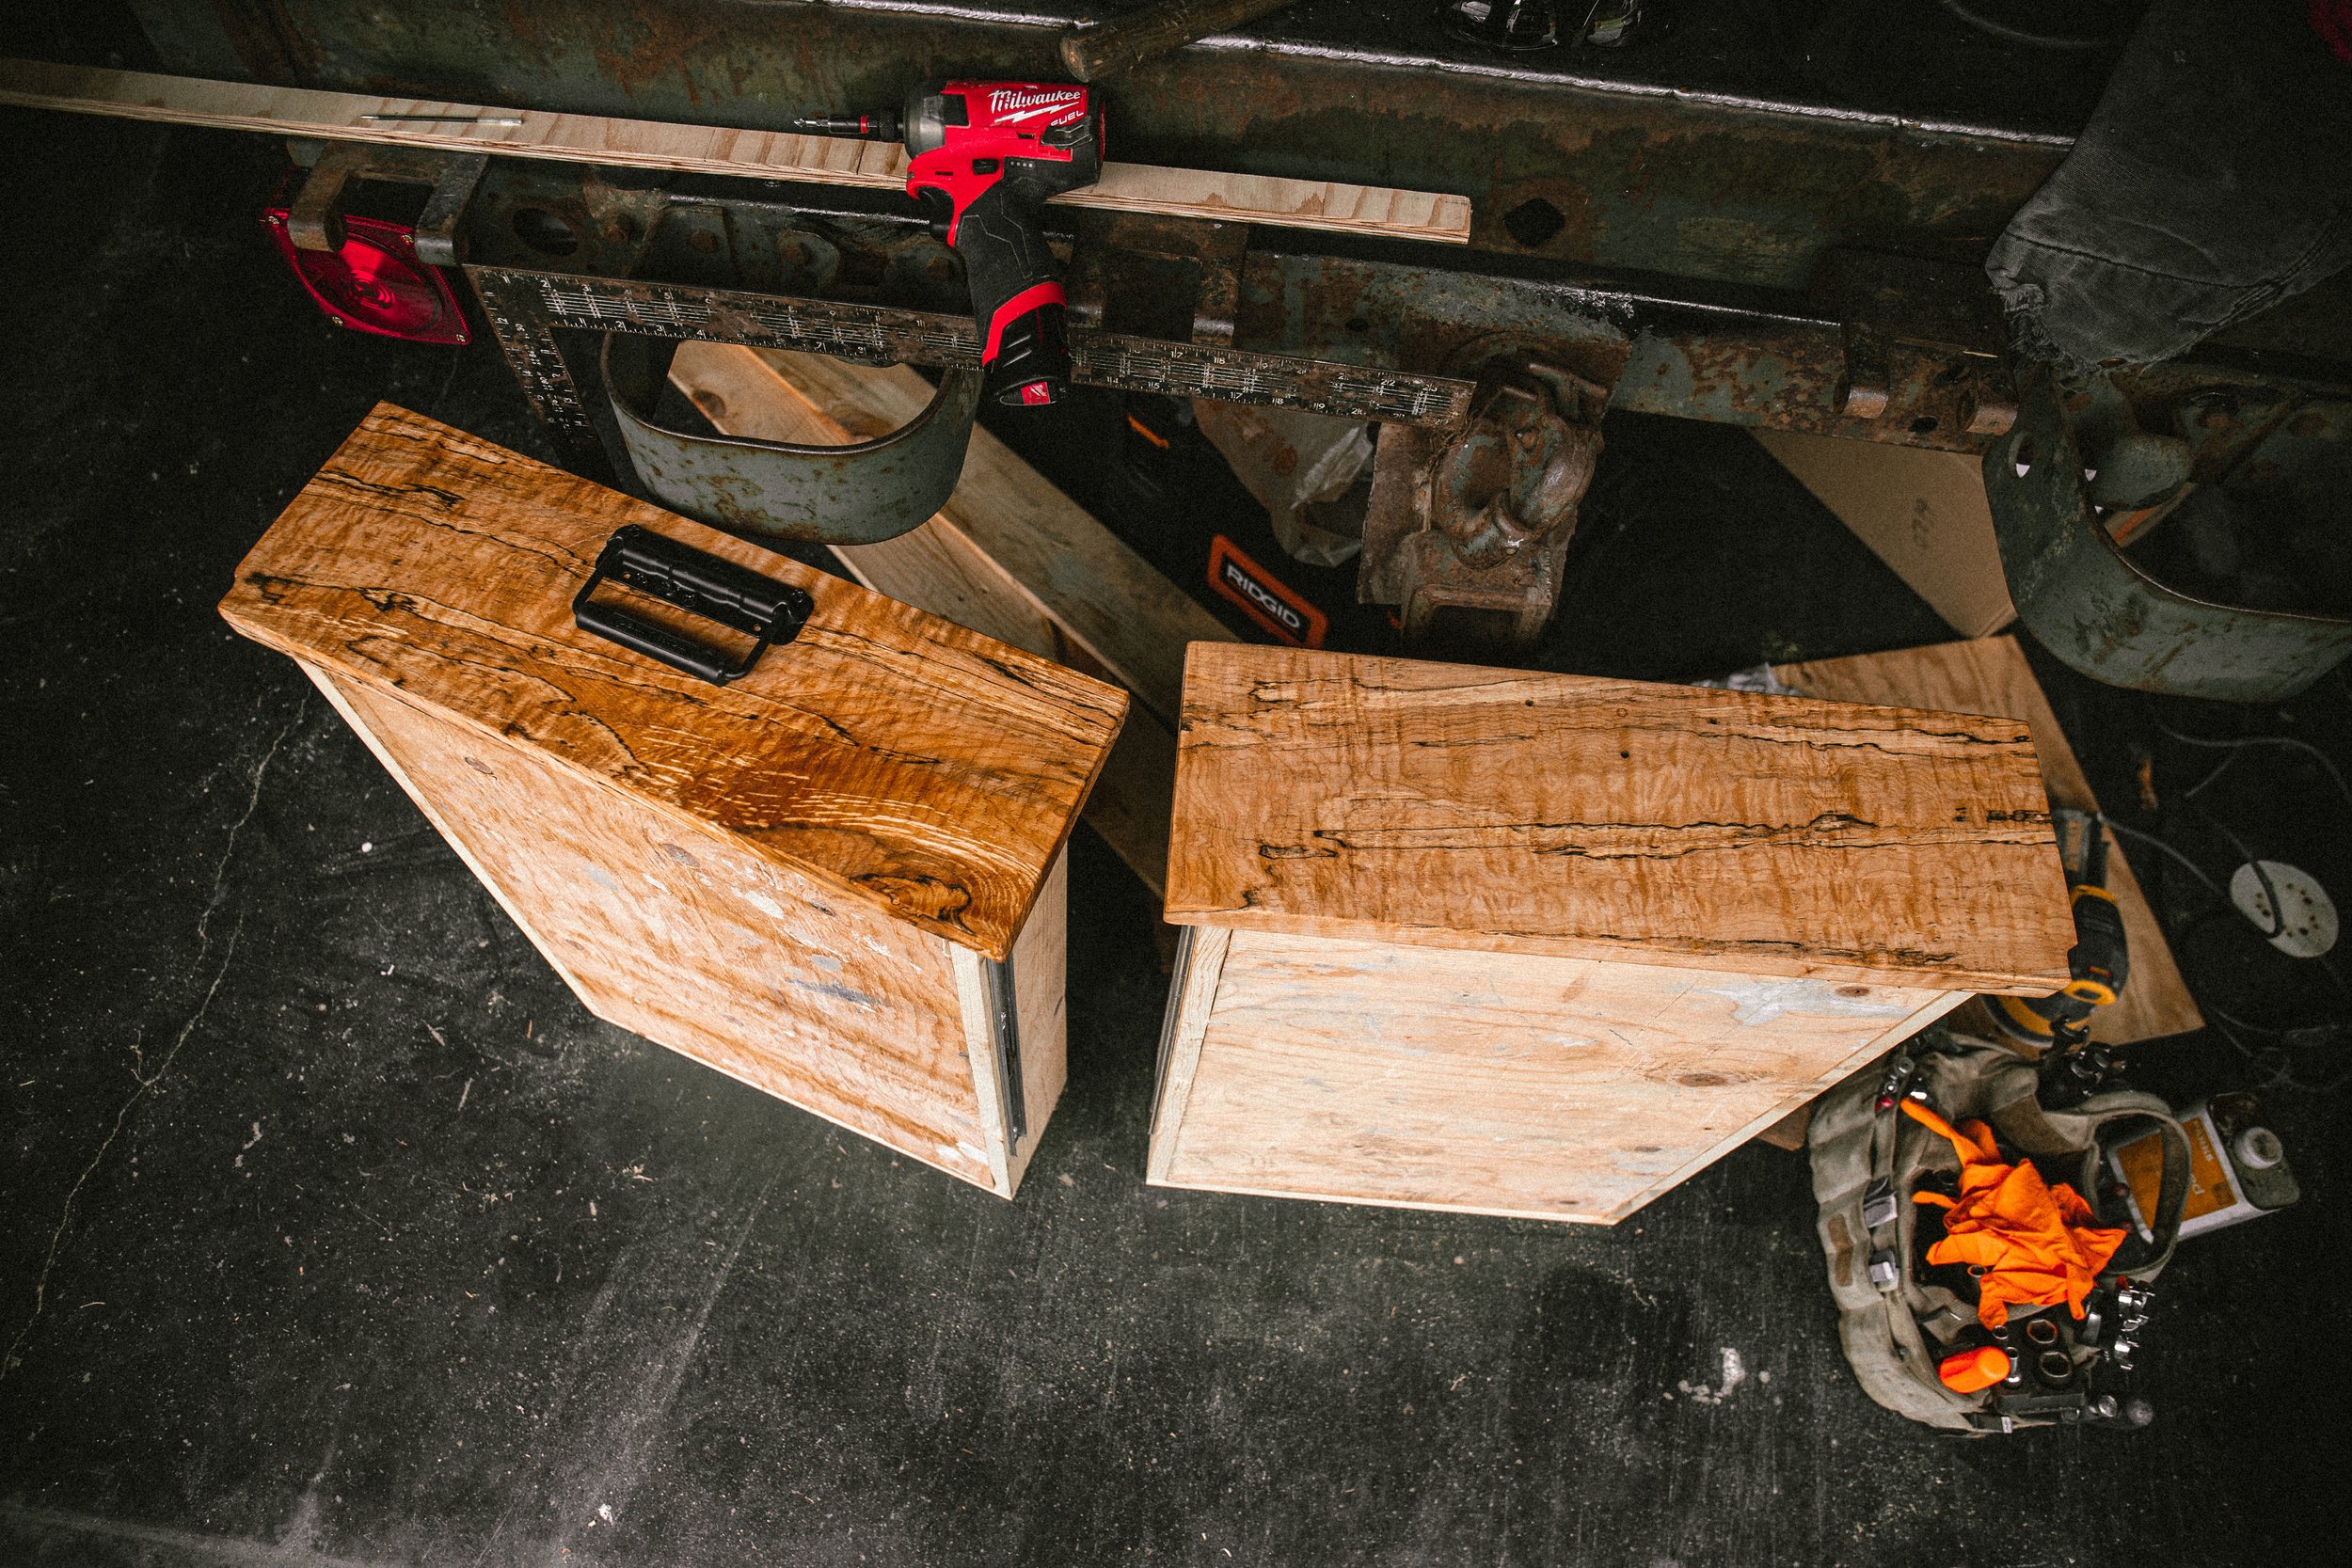
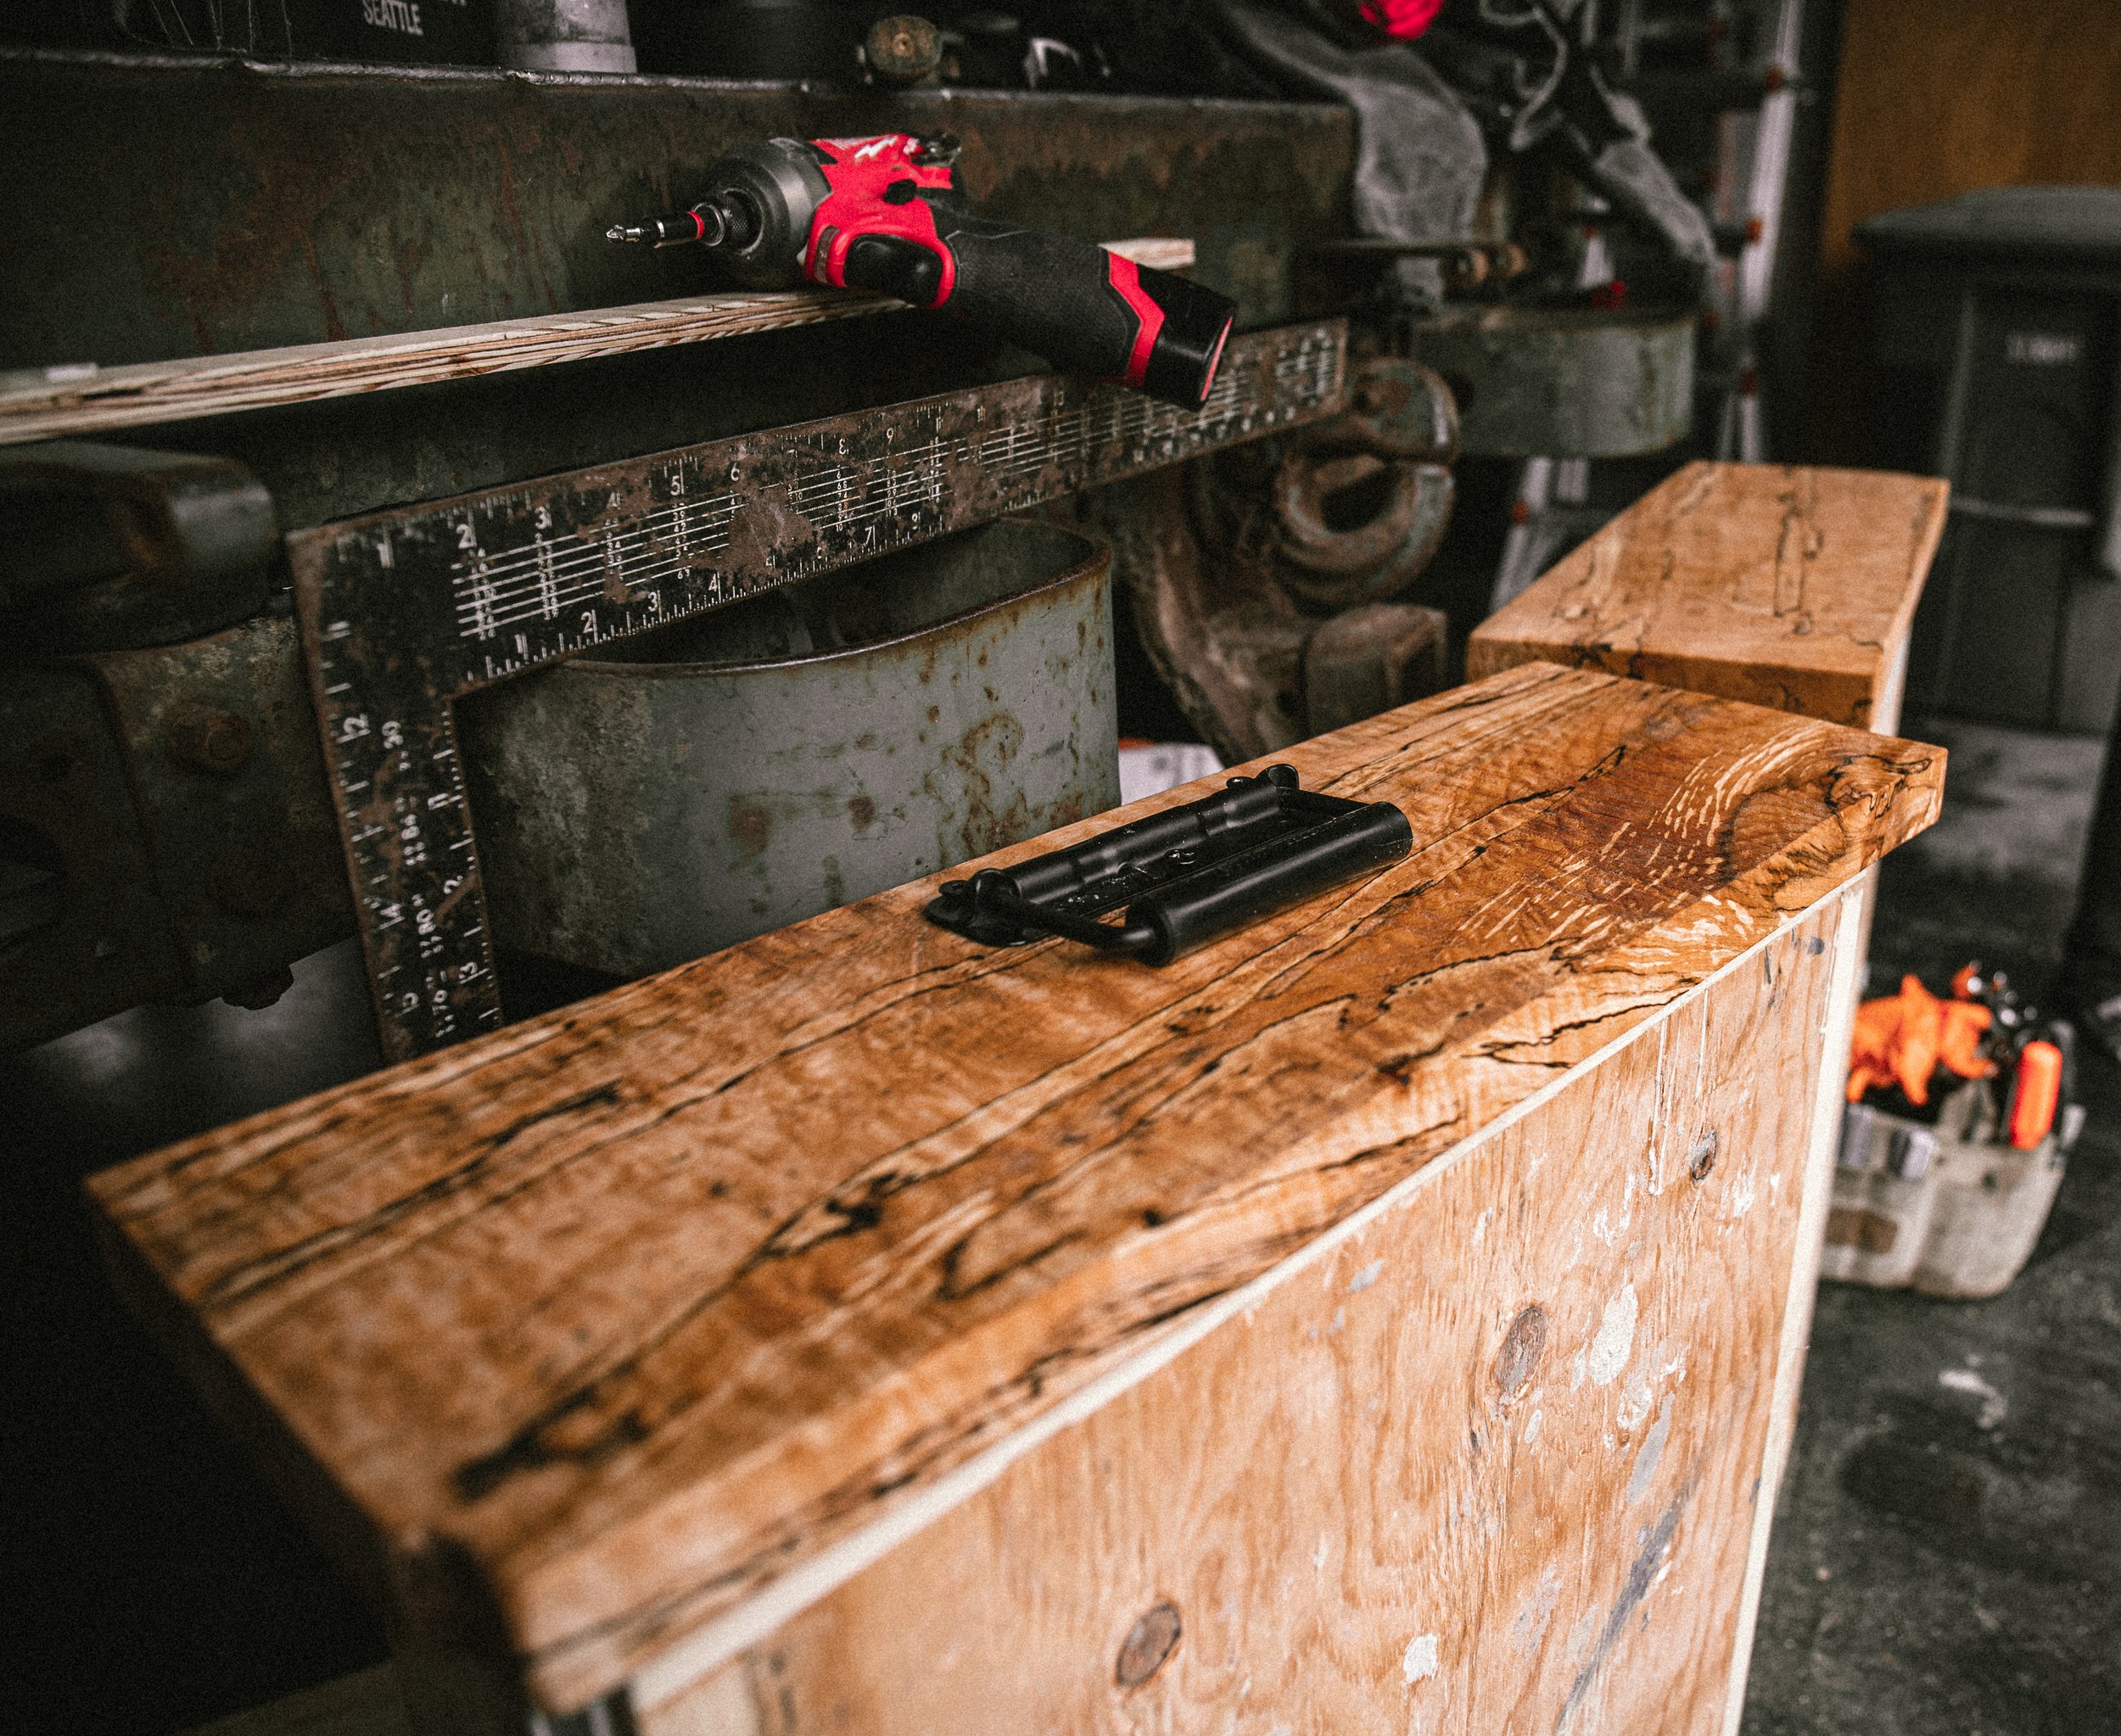
For the handles, I found some heavy duty spring retention handles on amazon. I really wanted to make sure the handles were spring loaded so that when driving down the road or off in the wilderness somewhere, they wouldn’t be banging around and making noise. Cause lets face it, xjs make enough noises on their own. To mount the handles, I marked out center of the two drawer faces, figured out the height I wanted them at and drilled pilot holes for the hardware. Once I had the handles and hardware where I wanted them, I removed them and started the finishing process for the drawer faces.
Maple is a very attractive wood in my opinion so I wanted to highlight that fact in my finish. I sanded them down to 220 grit, wiped them down gently with a tack cloth and started applying the coats of linseed oil. After a few coats of oil, the wood really came to life and brought out all the hidden beauty it had to offer. I allowed them to sit for a whole day after oiling to make sure everything was set within the wood before handling. Once the oil was set, using some more titebond wood glue and some decent screws, I finalized the mounting process of the drawer faces to the drawers.
Now, all that was left was to slide the drawers back on to their mounts and load them up with my gear.
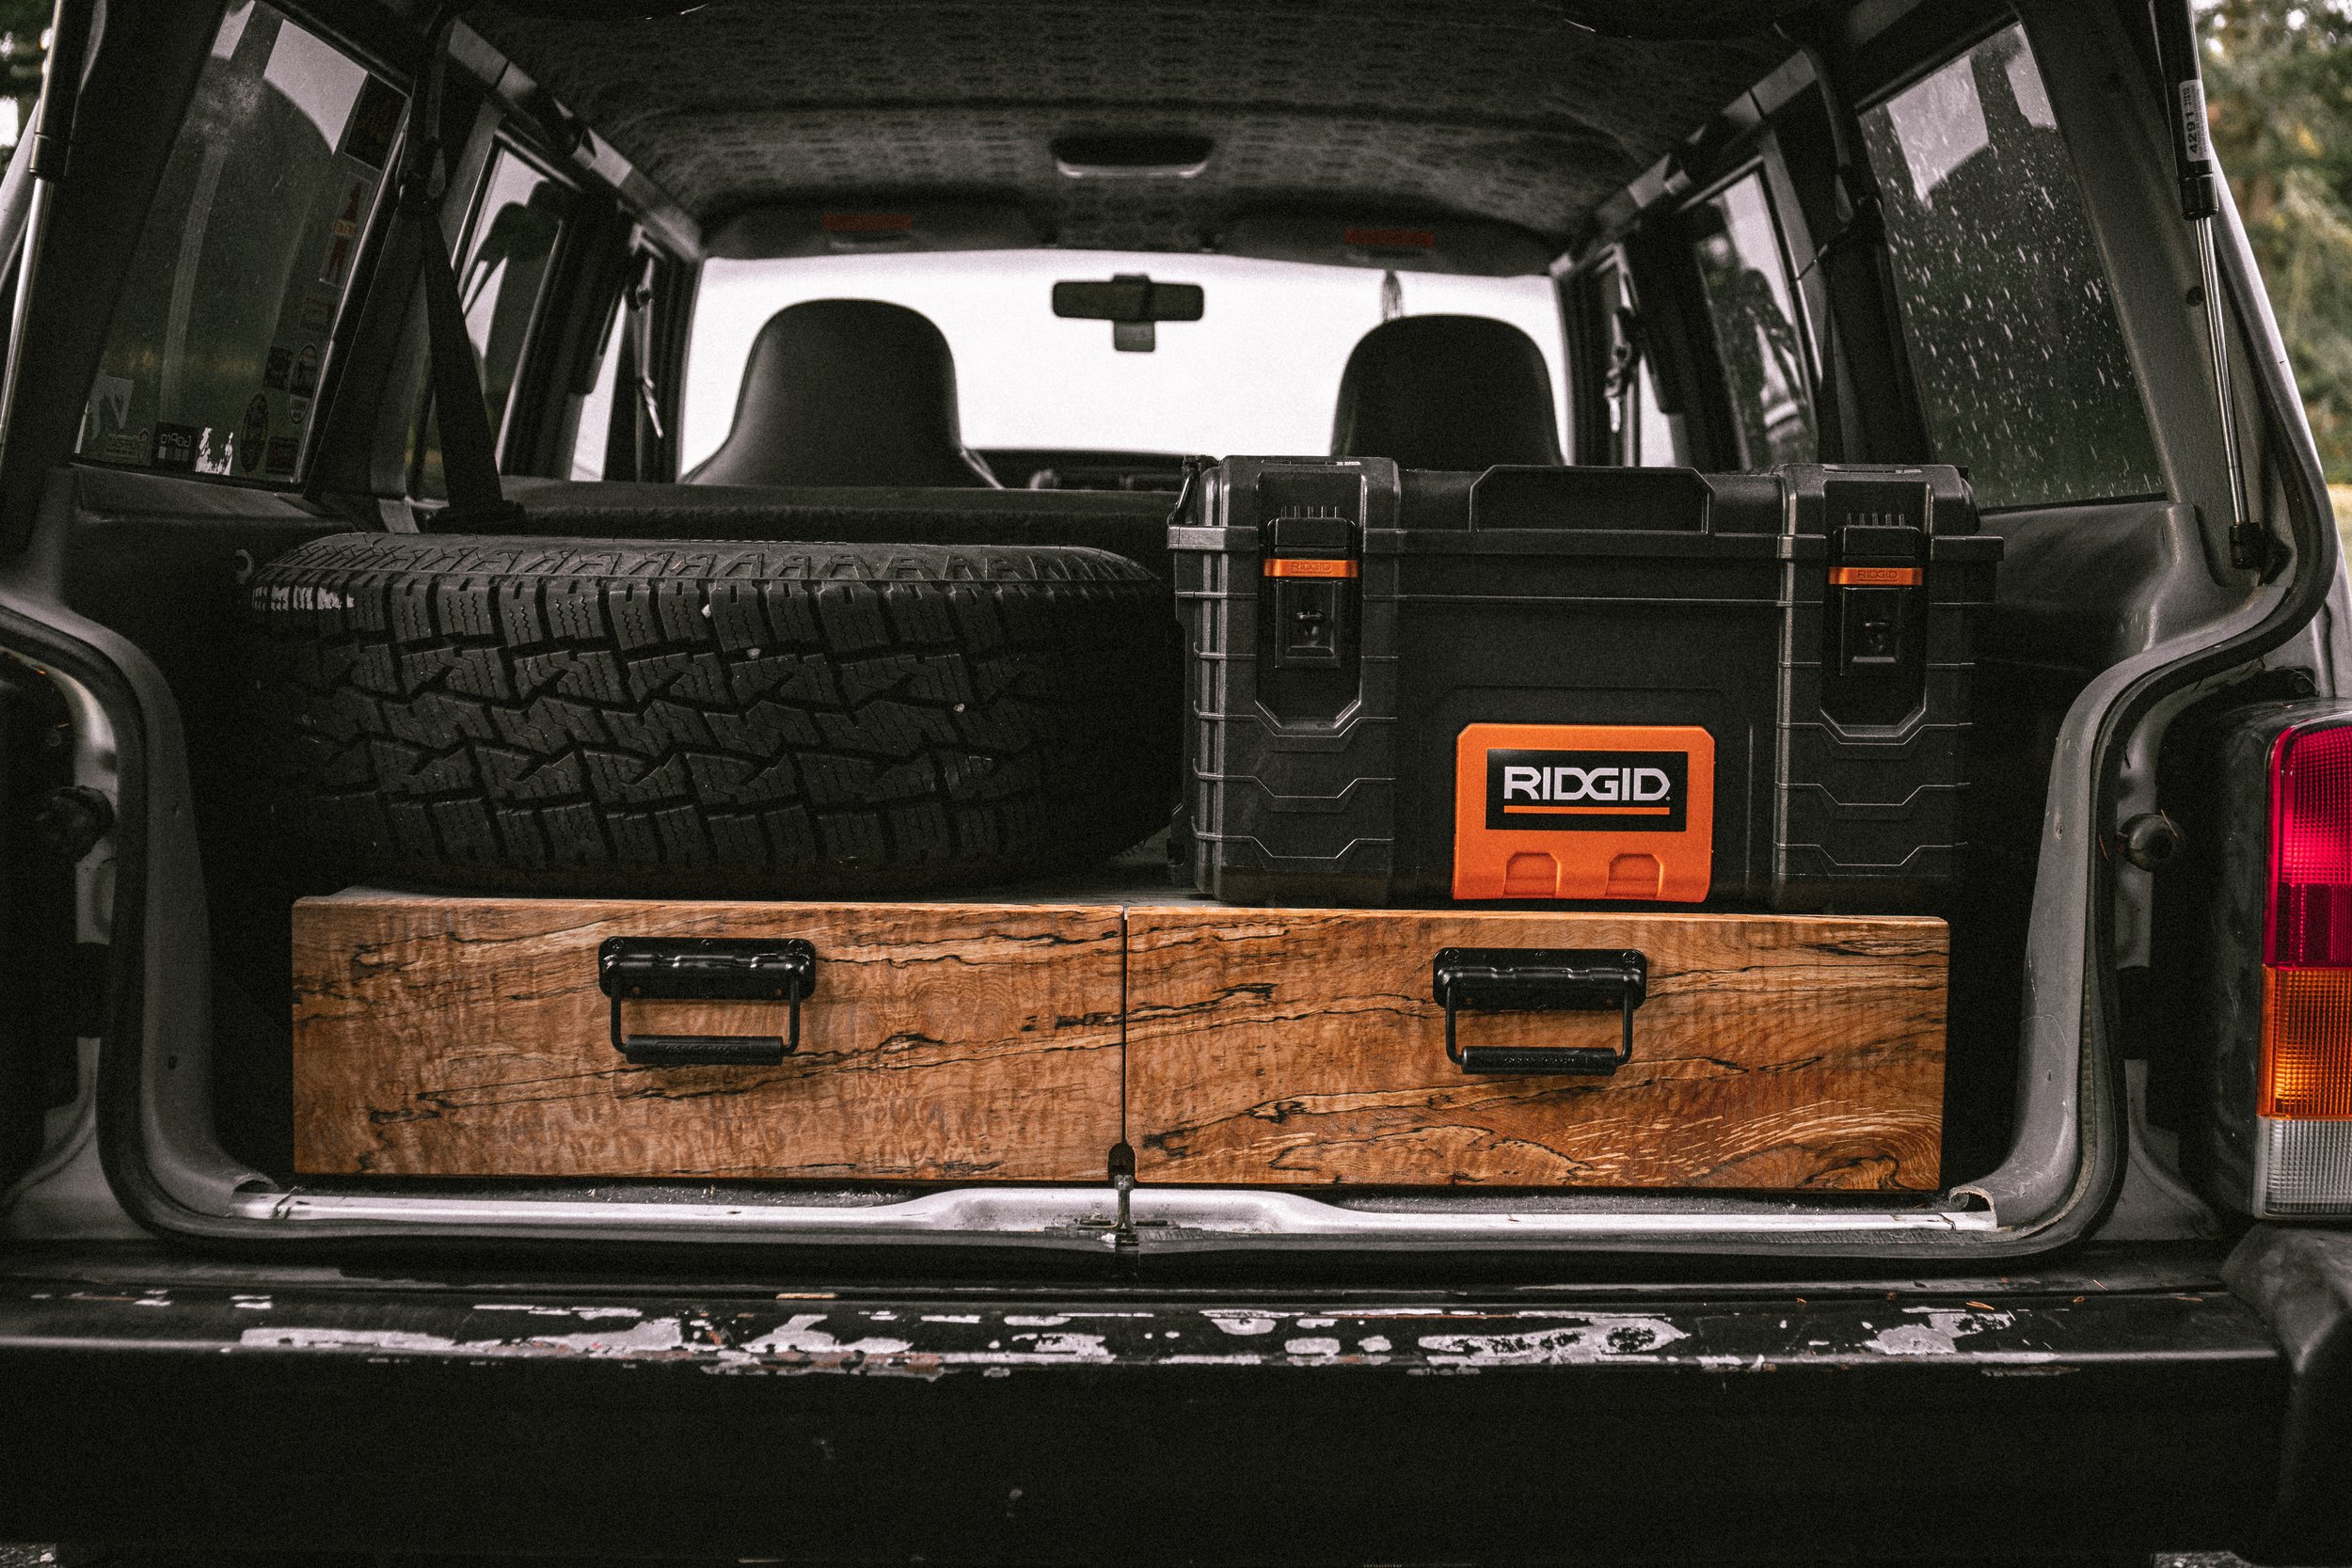
All in all I’d say this project went pretty smoothly. I didn’t want to make it too complicated but also worth my time and effort. So far, I have zero complaints with this set up and hope to start figuring out the sleeping platform part of this build.
